If you’re a software developer, you’ve probably heard of Git (a version control system that allows you to keep track of any changes you make to your code) and GitHub (a hosting platform for Git). But, it turns out that there is a similar platform for those of us in the machine learning and data science worlds. Comet (the GitHub for machine learning models) provides tools to assist us with tasks such as model tracking and version control, as well as model production management. In this post, we will learn more about what Comet is and how Comet can assist us in tracking the progress of our machine learning models. Without further ado, let’s get started!
What is Comet?
Comet is a platform for managing and optimizing your machine learning lifecycle, from experiment tracking to model production monitoring. What that means — in simple terms — is that Comet allows you to compare and audit your machine learning model’s experiments and artifacts (including your model hyperparameters, metrics, and more) in an optimal and effective manner.
Consider the case in which you’re building a classification model and want to tune it using GridSearchCV. While tuning the model, you want to keep track of model metrics such as a precision score and the ROC-curve visualization. Instead of logging each metric manually in a notebook or spreadsheet, which is very inefficient, Comet enables you to automatically track and optimize all of these metrics without even batting an eye.
Comet is an excellent tool for successfully organizing your machine learning model experiments. It offers several perks, including the ability to integrate with many common machine learning packages and platforms (e.g. TensorFlow, Keras, PyTorch, etc.), and is compatible with several mainstream data science and machine learning programming languages (e.g. Python, R, Java, etc.). And, it is completely free for individual use.
Who Can Use Comet?
While Comet is often used for enterprise business applications, it can also be extremely handy for small- and mid-scale personal projects. In fact, Comet is remarkably accessible to beginner, intermediate, and professional users alike, so, whatever your skill-level, don’t be afraid to dive in!
In what type of scenario might beginner-level individuals employ Comet? Say you’re developing a model for a Kaggle competition and you want to keep track of each ROC-curve visualization as you modify the model’s hyperparameters. Comet will help you to achieve this, and as a result, will help you obtain better model results, more efficiently.
Now that we understand how Comet may be useful for your particular use-case, let’s test it out and see what we can do with it.
Creating Our First Model Tracking Experiment Demo With Comet
After we’ve fitted the first version of our model on the training set, and evaluated it on the validation set, it’s time to start tuning the hyperparameters to ensure we’re getting the best performance possible. This process is commonly referred to as an experiment, because each time we tune the model, we are testing how well it performs based on that particular set of hyperparameters.
Keeping track of many iterations of experiments can be chaotic and time-consuming. Consider saving the confusion matrix for each set of hyperparameters passed to your model, and then trying to remember which matrix corresponded to which set of hyperparameters.
Comet can assist us in organizing and managing this process, and we’ll do exactly this in our demo. We will use Comet to keep track of our experiments and then, among the experiments we’ve tracked, we’ll choose the optimal set of hyperparameters for our model.
Dataset Used
For this classification task, I’ll be utilizing a dataset that determines whether a customer is satisfied or dissatisfied with a product, based on a set of predictor variables. Now, without further ado, let’s get started.
Signing-up on Comet
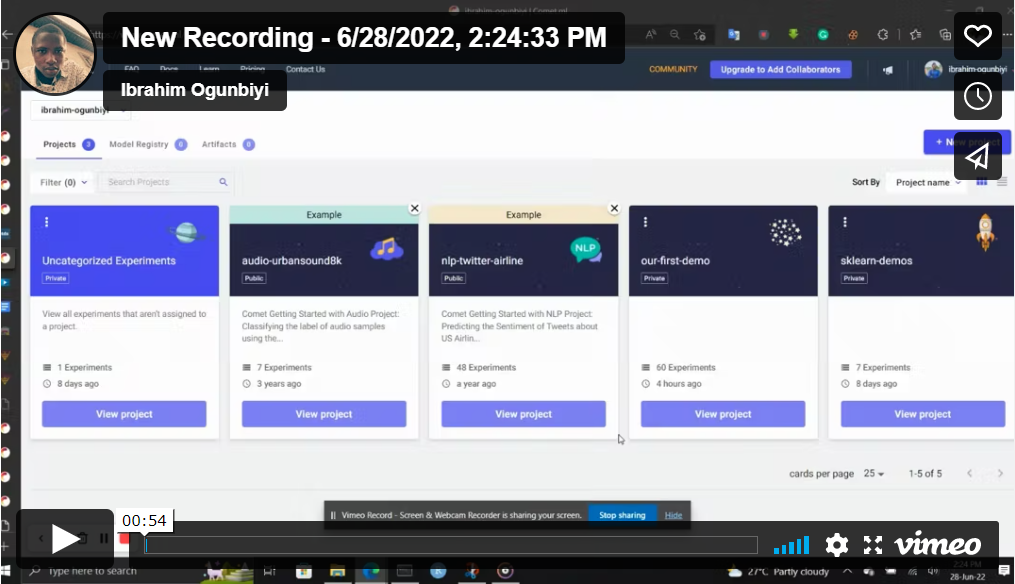
The first step is to sign-up on the Comet platform in order to obtain an API key that will allow our code in our IDE to communicate with the Comet website. We can do so by clicking here. After we’ve signed up and verified our account, we should see something like this in our dashboard:
Now, in the upper-right corner, we can click on our profile and navigate to settings, where we can see our API key. We click on the API key tab and will see something like this:
Locating our API key
Once we’ve completed that, the next step is to install the Comet library locally which we can do by running either of the following commands:
pip install comet_ml
— or —
conda install -c comet_ml comet_ml
Once we’ve installed the comet library, it’s time to open our Jupyter notebook.
Is your current workflow siloed and impossible to track? It might be time for an MLOps strategy. We created a free guide on how to create effective ML teams just for you. Learn more today!
Setting the Model/Algorithm Parameter
As previously mentioned, we will be focusing on hyperparameter optimization in this demo. We will use Comet to keep track of the hyperparameters used in each experiment, and we will then compare those experiments to see which set of hyperparameters performs the best.
The first step is to specify which hyperparameters we want to tune, and which values (or range of values) we’d like to test. We do this by defining a dictionary of model parameters (model_params) where each key represents the parameter name and the value represents the value we want to pass to the parameter. The value of each parameter is further composed of two key-value pairs, representing the type and values of the parameter ranges. This is because Comet offers various ways of dealing with several types of values: integer, double or float, discrete (list of numbers), and categorical (list of strings). Let’s take a look at the parameters we want to pass into our model to get a better idea of what this looks like.
#Specify the hyperparameters we want to tune in our algorithm/estimator
model_params = {
     "n_estimators": {
         "type": "discrete",
         "values": [50, 100, 150, 200, 250, 300]
     },
     "criterion": {
         "type": "categorical",
         "values": ["gini", "entropy"]
     },
     "min_samples_leaf": {
         "type": "discrete",
         "values": [1, 2, 3, 4]
     }
}
Specifying our hyperparameters
In our example, we wish to pass a list of numbers to n_estimators and categorical values to criterion. Click here to learn more about how Comet handles parameter values.
The Comet Optimizer
After we’ve done specifying the hyperparameters, it’s time to instantiate our Comet optimizer. The Comet optimizer is used to identify the best set of hyperparameter values that will minimize or maximize a specific metric on the fly. Because of its connection with Comet’s Experiment objects, Comet’s optimizer offers many advantages over typical hyperparameter optimizer search services.
# Initialize our optimizer
opt = comet_ml.Optimizer(api_key=API_KEY, config=optimizer_dict)
Instantiating our optimizer
The Comet optimizer provides three types of hyperparameter tuning algorithms: Grid search (similar to GridSearchCV from Scikit-learn), Random search (similar to Random Search in Scikit-learn), and Bayes optmization. According to the Comet documentation, the Bayes optimization algorithm is often the most efficient and effective one to utilize, and therefore we will be using it in this tutorial.
The Comet optimizer config parameters accept a dictionary consisting of the following:
algorithm: string; which search algorithm to use (either Grid, Random, Bayes).spec: dictionary; the algorithm-specific specifications (in other words, the specification of the search algorithm we want to use, which in our case is the Bayes algorithm).parameters: dictionary; the parameter distribution space descriptions.name: string; the name we want to call our search instance (optional).trials: integer; the number of trials per experiment to run (optional, defaults to 1).
To read more about the Comet optimizer config parameters click here.
For this tutorial, we will use the default config setting for the Bayes method, which can be found in the documentation by clicking here, but we will pass in our model_params variable and rename the search instance My Bayesian Search. Then we’ll assign this dictionary to the optimizer_dict variable.
# Specify the parameters with want to supply to the optimizer config
optimizer_dict= {
    "algorithm": "bayes",
    "spec": {
        "maxCombo": 0,
        "objective": "minimize",
        "metric": "loss",
        "minSampleSize": 100,
        "retryLimit": 20,
        "retryAssignLimit": 0
    },
    "trials": 1,
    "parameters": model_params,
    "name": "My Bayesian Search"
}
Specifying the optimizer configuration
Finally, we run our Experiment with the following code:
#Specify the hyperparameters we want to tune in our algorithm/estimator
model_params ={
     "n_estimators": {
         "type": "discrete",
         "values": [50, 100, 150, 200, 250, 300]
     },
     "criterion": {
         "type": "categorical",
         "values": ["gini", "entropy"]
     },
     "min_samples_leaf": {
         "type": "discrete",
         "values": [1, 2, 3, 4]
     }
}

# Specify the parameters with want to supply to the optimizer config
optimizer_dict= {
    "algorithm": "bayes",
    "spec": {
        "maxCombo": 0,
        "objective": "minimize",
        "metric": "loss",
        "minSampleSize": 100,
        "retryLimit": 20,
        "retryAssignLimit": 0
    },
    "trials": 1,
    "parameters": model_params,
    "name": "My Bayesian Search"
}

# Initialize our optimizer
opt = comet_ml.Optimizer(api_key=API_KEY, config=optimizer_dict)
for experiment in opt.get_experiments(project_name="Our First Demo",
                                      workspace="ibrahim-ogunbiyi"):
    # initializing random forest
    model = RandomForestClassifier(
        n_estimators=experiment.get_parameter("n_estimators"),
        criterion=experiment.get_parameter("criterion"),
        min_samples_leaf=experiment.get_parameter("min_samples_leaf"),
        random_state=42)

    # training the model and making predictions
    model.fit(X_train, y_train)
    y_preds = model.predict(X_test)

    # logging the metrics to the comet website
    experiment.log_parameter("random_state", 42)
    experiment.log_metric("accuracy", accuracy_score(y_test, y_preds))
    experiment.log_confusion_matrix(y_test, y_preds)
    experiment.end()
Running our Comet Experiment
Let’s quickly review what we just did above.
First:
# Initialize our optimizer
opt = comet_ml.Optimizer(api_key= API_KEY,
                         config=optimizer_dict)
We instantiated the Comet optimizer and passed it the arguments it requires, our API key and config (the config is the optimize_dict we created before, which contains our model hyperparameter values and Comet optimizer search algorithm).
Note don’t disclose your API key to the public. It is meant private for use only.
The next code:
for experiment in opt.get_experiments(
    project_name="Our First Demo",
    workspace="ibrahim-ogunbiyi"):
It’s used to iterate through the experiments that we’ve created. That is, it allows us to loop through all of the hyperparameters we have generated. The two arguments we passed into it are now used to name our project and specify the workspace to which we want it to belong (in the above example I want it to be in my default workspace).
The next code:
model = RandomForestClassifier(
    n_estimators= experiment.get_parameter("n_estimators"),
    criterion= experiment.get_parameter("criterion"),
    min_samples_leaf= experiment.get_parameter("min_samples_leaf"),
    random_state= 42
 )
In the above code, we instantiate our RandomForestClassifier and use experiment.get_parameter() to retrieve the current experiment’s parameter value so that we can pass it to our model. For example, experiment.get_parameter(“n_estimators”) will get the return the number of n_estimators in the experiment.
experiment.log_parameter("random_state", 42)
experiment.log_metric("accuracy", accuracy_score(y_test, y_preds))
experiment.log_confusion_matrix(y_test, y_preds)
In addition to the .log_ method used above, there are other metrics provided by Comet that you can read about in more detail here.
Finally:
experiment.end()
This is used to end the experiment when the code is being run on a notebook like Jupyter or Colab.
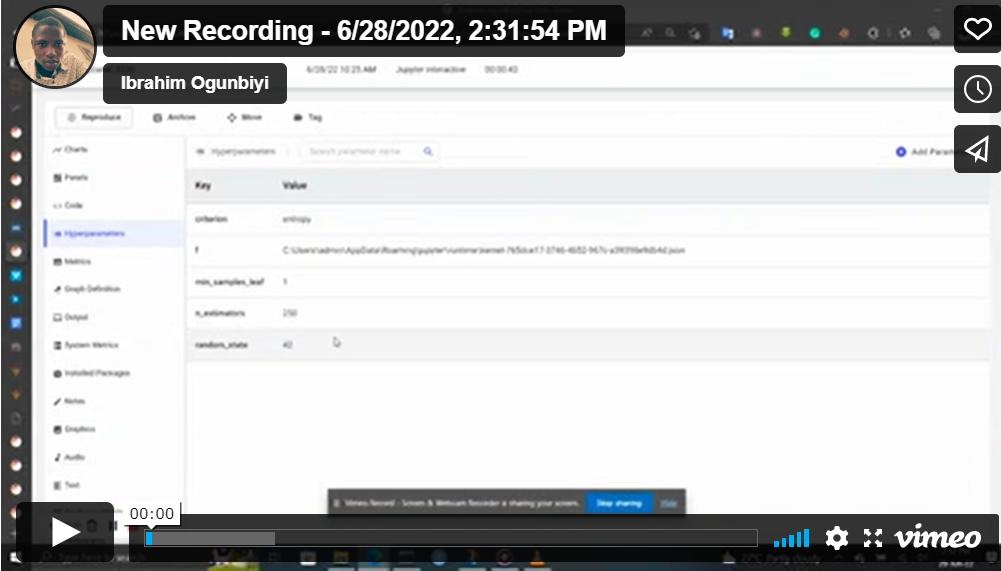
Now if you run the above code you should see similar to this:
Now choose the best set of hyperparameters from each of the experiments all in one convenient place. Assuming I’ve found the best hyperparameters and want to copy them, I can quickly navigate to the website and copy them like this:
Conclusion
In this lesson, we learned how to use Comet to keep track of our machine learning model experiments. You can learn more about them by checking out their website. They have quite simple documentation and they support almost all machine learning libraries. Thanks for reading!
