Observability for OpenWebUI with Opik
OpenWebUI is a self-hosted WebUI that operates offline and supports various LLM runners, including Ollama and OpenAI-compatible APIs. OpenWebUI is open source and can easily be deployed on your own infrastructure.
Opik offers open source observability for OpenWebUI. By enabling the Opik integration through Pipelines, you can trace your application data with Opik to develop, monitor, and improve the use of OpenWebUI, including:
- Application traces
- Usage patterns
- LLM interaction analysis
How to integrate Opik with OpenWebUI
Pipelines in OpenWebUI is a UI-agnostic framework for OpenAI API plugins. It enables the injection of plugins that intercept, process, and forward user prompts to the final LLM, allowing for enhanced control and customization of prompt handling.
To trace your application data with Opik, you can use the Opik filter pipeline, which enables real-time monitoring and analysis of message interactions.
Setup OpenWebUI
Make sure to have OpenWebUI running. To do so, have a look at the OpenWebUI documentation.
Set Up Pipelines
Launch Pipelines by using Docker. Use the following command to start Pipelines:
Connecting OpenWebUI with Pipelines
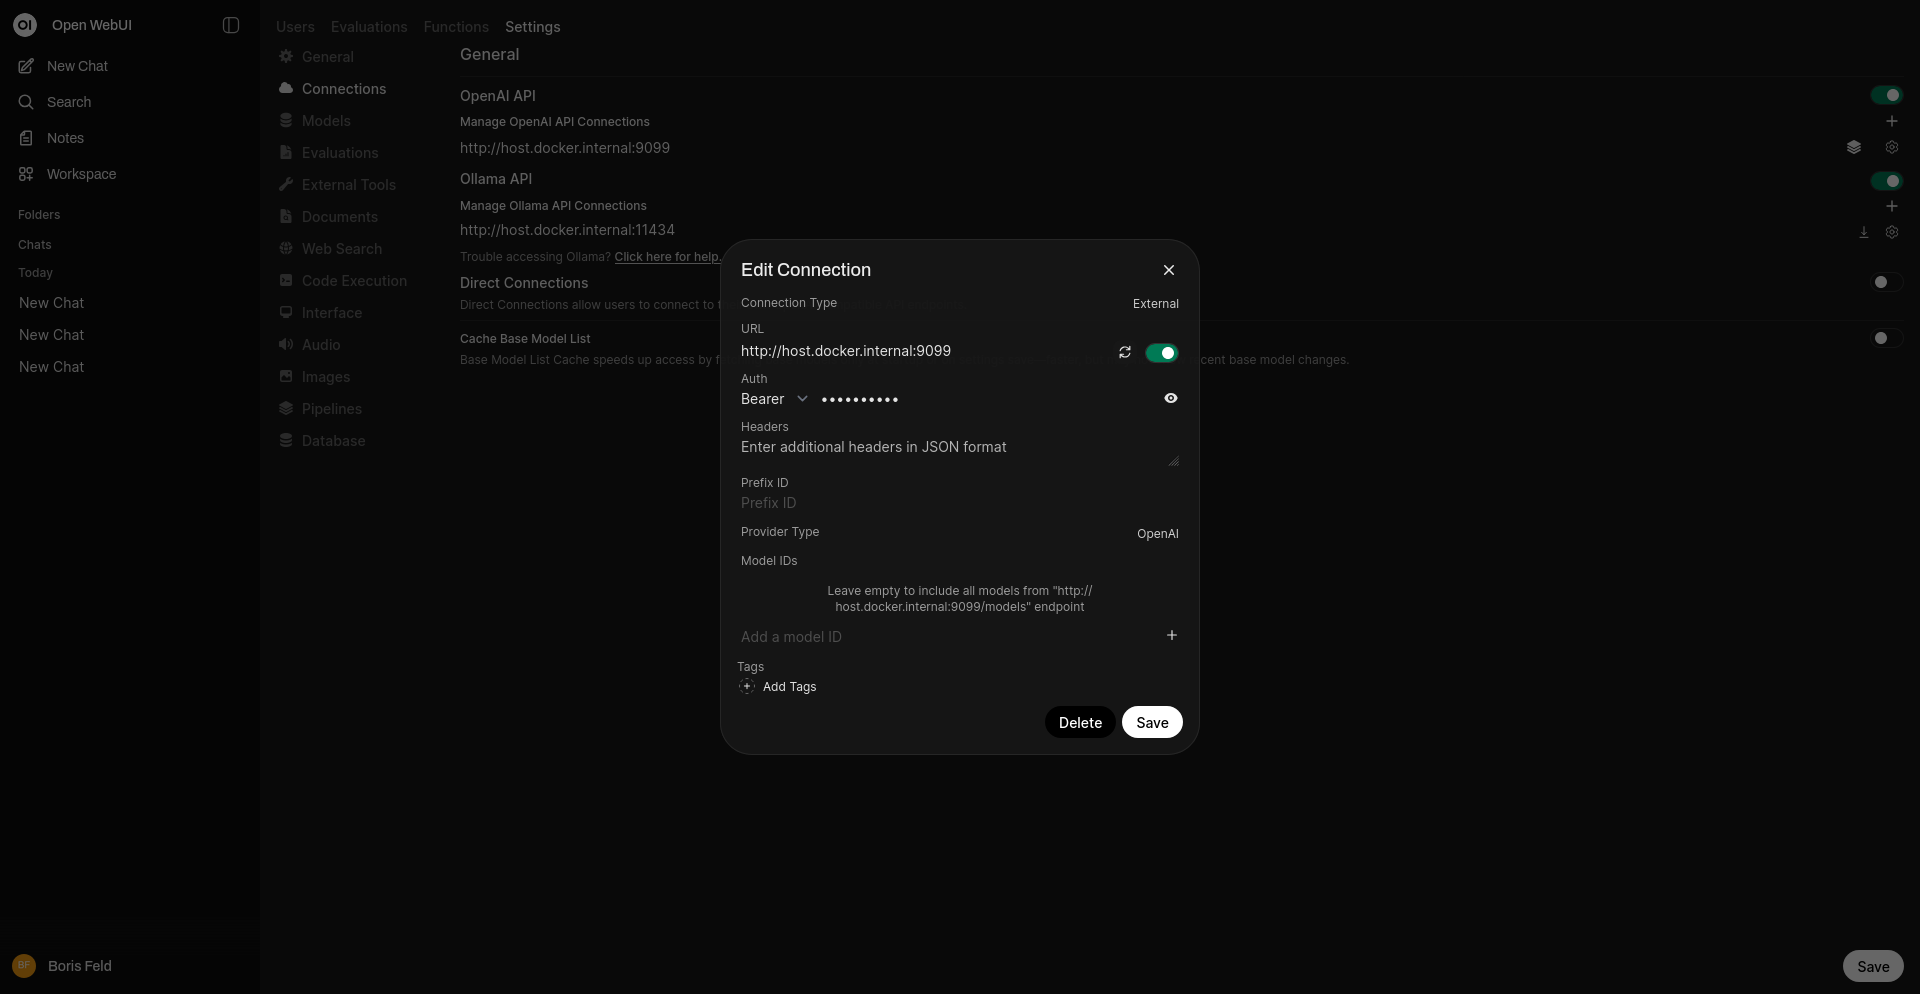
In the Admin Panel > Settings, create and save a new connection of type OpenAI API with the following details:
- URL:
http://localhost:9099/(this is where the previously launched Docker container is running) - Password:
0p3n-w3bu!(standard password)
If your Open WebUI is running in a Docker container, replace localhost with host.docker.internal in the API URL.
Adding the Opik Filter Pipeline
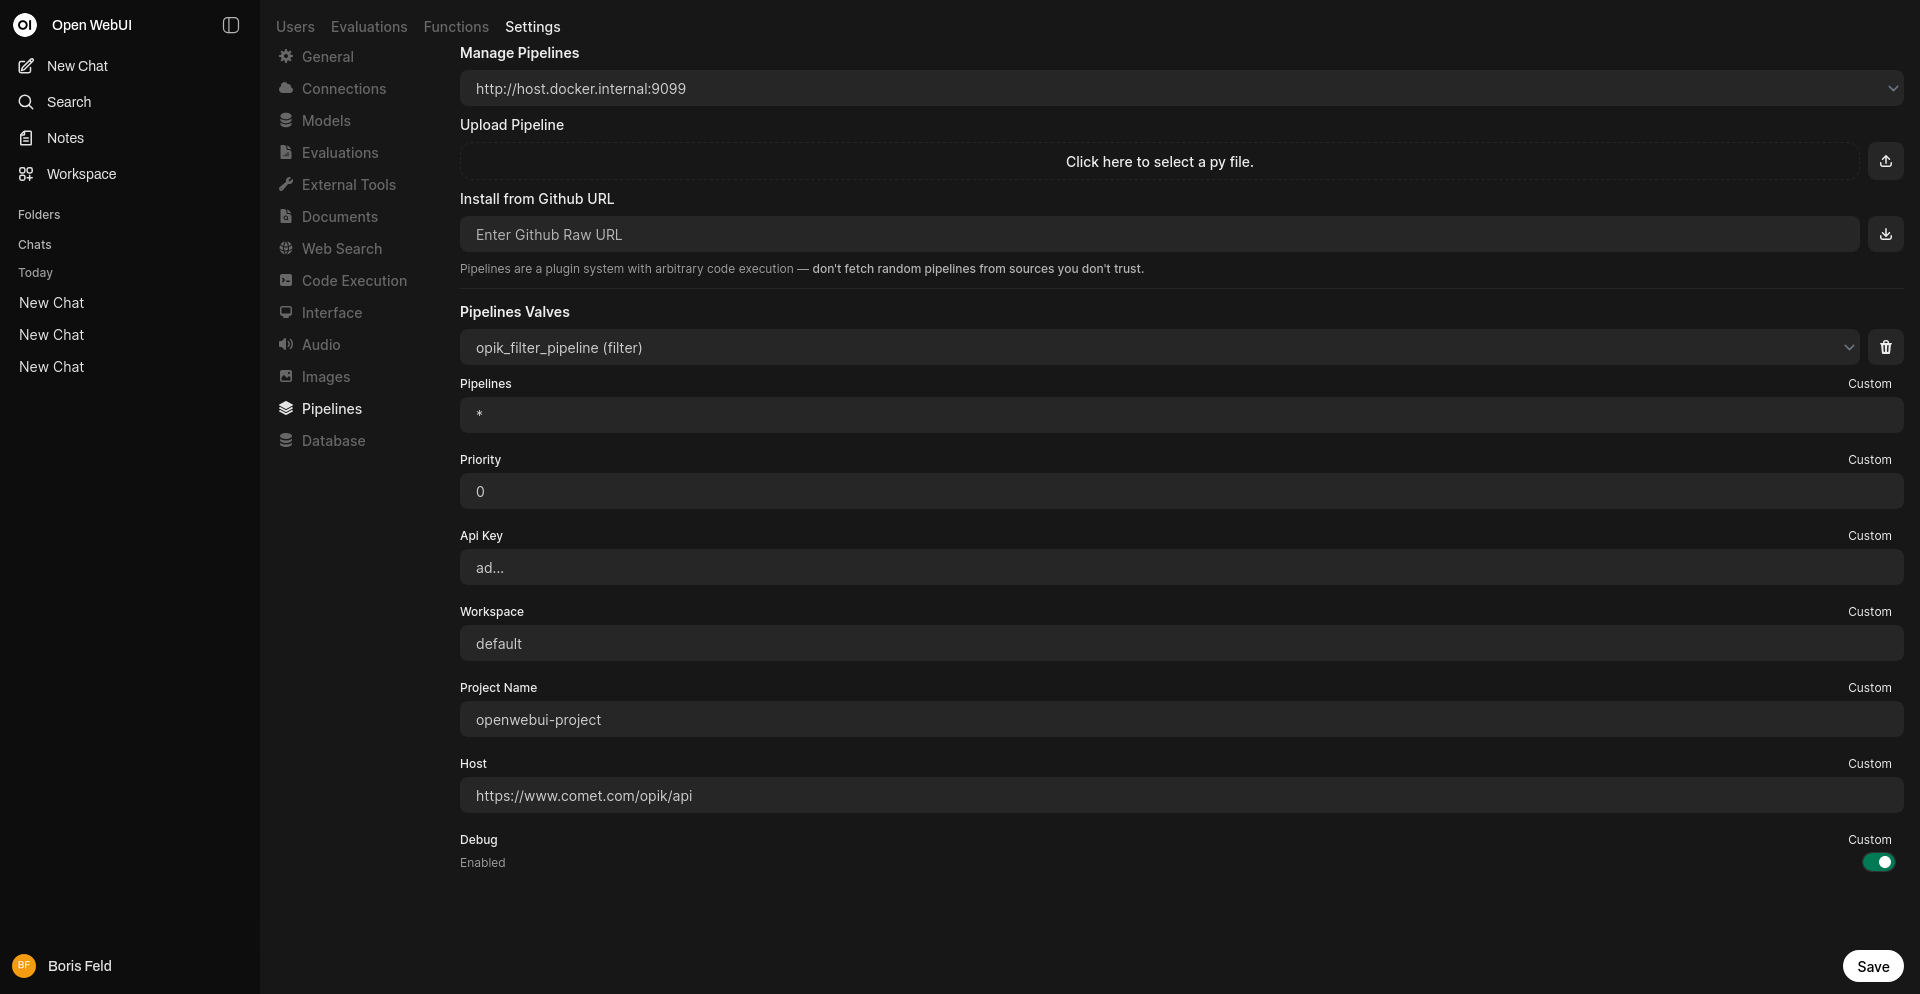
Next, navigate to Admin Panel > Settings > Pipelines and add the Opik Filter Pipeline. When configuring the pipeline connection, use the same URL you configured in the previous step (either http://localhost:9099 or http://host.docker.internal:9099 if OpenWebUI is in Docker). Install the Opik Filter Pipeline by using the Install from GitHub URL option with the following URL:
Now, add your Opik API keys below. If you haven’t signed up to Opik yet, you can get your API keys by creating an account here.
Configuration Options
After installing the pipeline, you can configure the following valves in the Pipelines Valves section:
- Api Key: Your Opik API key (required)
- Workspace: Your Opik workspace name (optional, defaults to “default”)
- Project Name: The project name for organizing traces (optional)
- Host: The URL of your Opik instance (defaults to
https://www.comet.com/opik/apifor Opik Cloud) - Debug: Enable debug logging (optional)
Capturing Token Usage
To capture token usage data for your models, navigate to the model settings in OpenWebUI and check the “Usage” box under Capabilities.
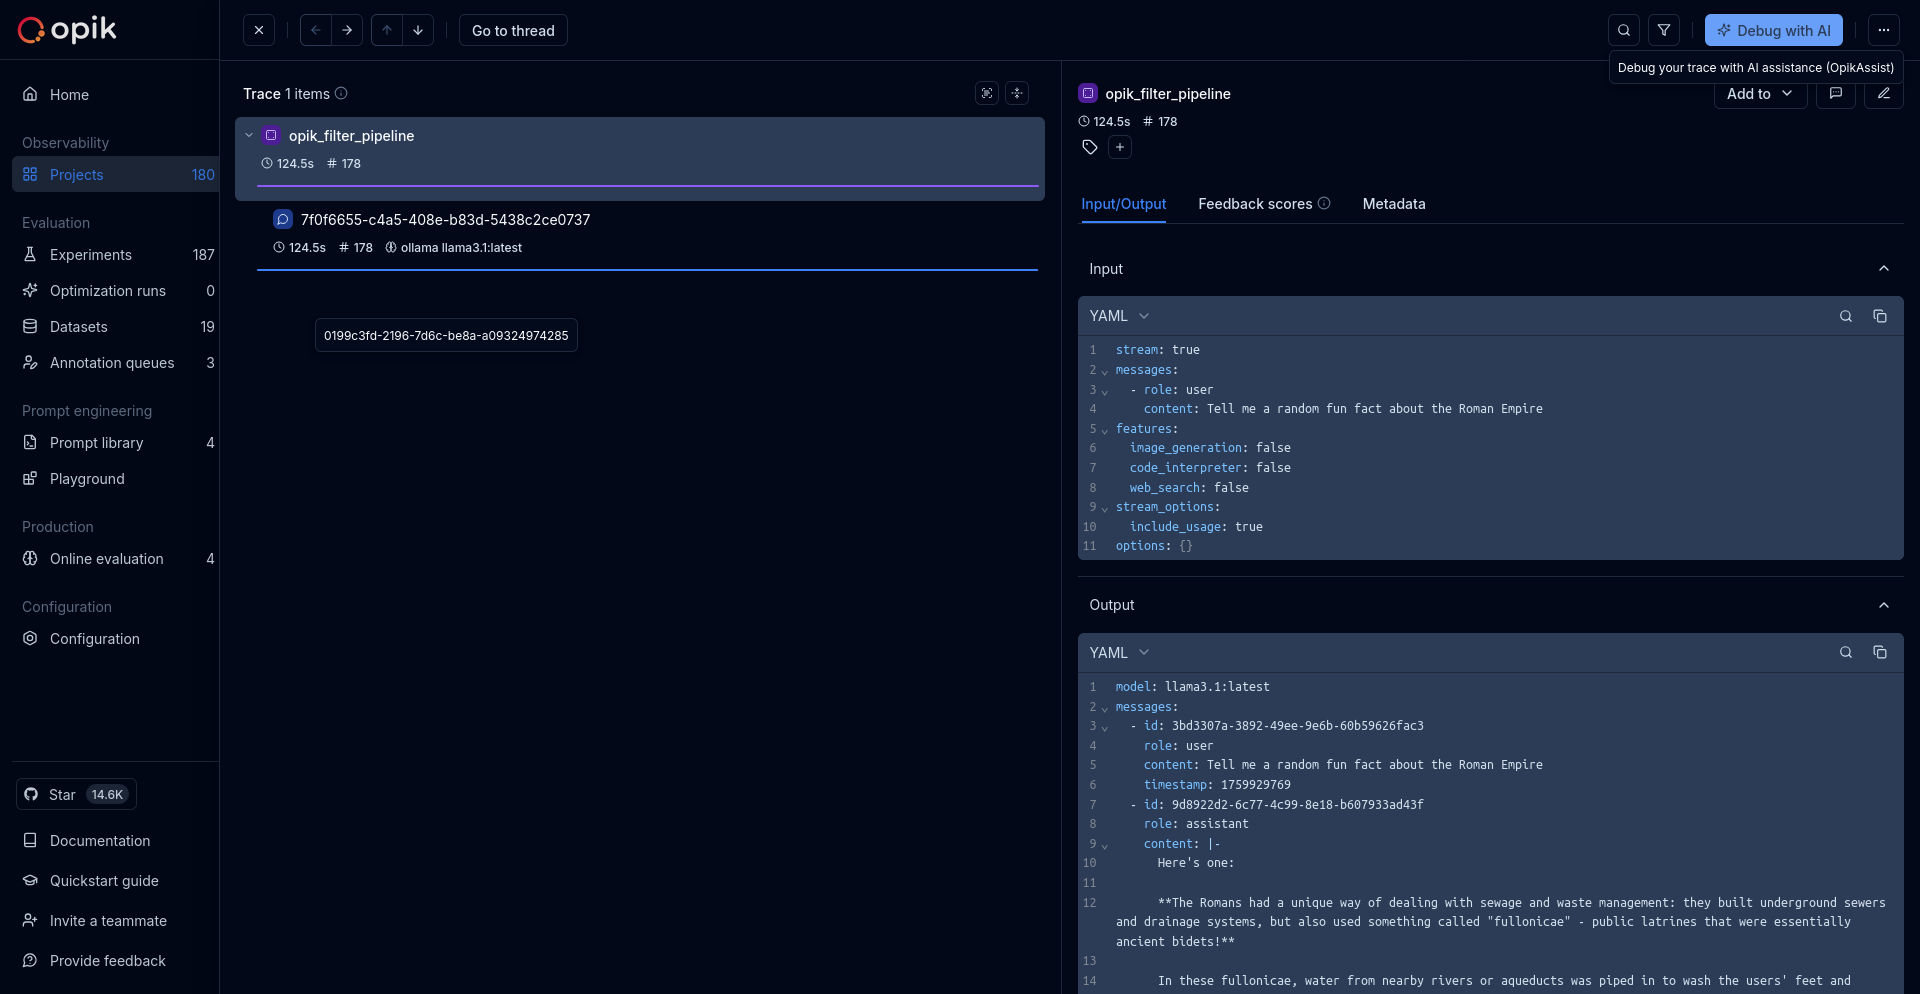
See your traces in Opik
You can now interact with your OpenWebUI application and see the traces in Opik.
Learn more
For a comprehensive guide on OpenWebUI Pipelines, visit the Pipelines repository.
To learn more about setting up OpenWebUI, check out the official documentation.
Feedback
If you have any feedback or requests, please create a GitHub Issue.