Integrating Time Series Analysis in Comet

Time series analysis refers to techniques for deriving useful statistics and other data properties from time series data. Time series forecasting is the process of using a model to forecast future values based on values that have already been observed.
Time series analysis is used in our day-to-day activities as it answers the questions of “How many”, “When will”, “How will”, “How much” and other related questions that may arise when there is a need to predict the future. Depending on the level of accuracy required for the prediction, the duration of the predicted period, and, of course, the amount of time available for feature selection and parameter tuning to produce the desired results, we can approach prediction tasks in various ways.
Non-stationary data such as economics, meteorology, stock prices, and retail sales are presented using time series, but must usually be made stationary during pre-processing for predictions. With Prophet, however, we can skip this step and feed non-stationary data directly to the model. We’ll demonstrate how to do this in this article.

Comet
Comet is a platform for experimentation that enables you to monitor your machine-learning experiments. Comet has another noteworthy feature: it allows us to conduct exploratory data analysis. We can accomplish our EDA objectives thanks to Comet’s integration with well-known Python visualization frameworks. You can learn more about Comet here.
This lesson will teach us how to integrate Comet with our time-series forecasting model. We will carry out some EDA on our Tesla stock dataset, and then we will log the visualizations onto the Comet experimentation website or platform. Without further ado, let’s begin.
Prerequisites
You may install the Comet library on your computer if you don’t already have it there by using either of the following lines at the command prompt. Note that if you are installing packages directly into a Colab notebook, or any environment that uses virtual machines, you’ll likely want to use pip.
pip install comet_ml
— or —
conda install -c comet_ml
Prophet
Prophet is a additive model for predicting time series data that fits non-linear trends with seasonality that occurs annually, weekly, daily, and on weekends as well as during holidays. Strongly seasonal time series and multiple seasons of historical data are ideal for it. Prophet typically manages outliers well and is robust to missing data and changes in trends.
The Facebook Core Data Science team recently released Prophet as an open-source software. It can be downloaded from PyPI and CRAN. To learn more about Prophet, you can check it out here.
Before we begin our project, we will import Comet and Prophet using the code below.
import comet_ml
from prophet import Prophet
We then create our .comet.config file and and add in our API key, workspace, and name of our project so all the readings on our models can be automatically tracked and logged. If you don’t already have a Comet account, you can sign up for free here, and then just grab your API key from Account settings / API Keys.
comet_string = """[comet]
api_key= <Your-API-Key>
project_name= "Stock Price prediction"
workspace= olujerry
"""
with open('.comet.config', 'w') as f:
f.write(comet_string)exp = Experiment()
Next, we can get started on our car monthly sales time analysis project. We begin by importing all the remaining necessary libraries.
import numpy as np
import pandas as pd
import matplotlib.pyplot as plt
from pandas.plotting import lag_plot
from pandas import datetime
from statsmodels.tsa.arima_model import ARIMA
from sklearn.metrics import mean_squared_error
After importing all the necessary libraries, we now import our dataset.
Car_sales = pd.read_csv('/content/monthly-car-sales.csv',
                        parse_dates=['Month'])
We then show the first 10 lines of our dataset using the code below:
Car_sales.head(10)

In order to use the prophet.fit() function, the DataFrame must be in a particular format. Datetime information must be in the first column, which must be named ds. The observations must be in the second column, which must be named y.
Car_sales= Car_sales.rename(columns= {'Month':'ds', 'Sales':'y'})
Before we fit our model, let’s quickly visualize it first:
plt.plot(Car_sales['ds'], Car_sales['y'])
plt.show()

We then fit our model:
Feature = Prophet()
Feature.fit(Car_sales)
We then make a forecast to predict the price of cars in the future, where N is the number of time periods we would like to predict. Because our data is monthly, this means we will predict the next 10 months worth of data:
N = 10
future_Car_sales = Feature.make_future_dataframe(periods=N)
forecast = Feature.predict(future_Car_sales)
We can now plot the prediction:
Feature.plot(forecast)
plt.show()

From the forecast, we can see the rise and fall of prices in cars over the years, with car prices reaching their peak in 1968 at 26,000 before dropping off the ladder in 1969.
Curious to see how Comet works? Check out our PetCam scenario to see MLOps in action.
The next step involves viewing the components of our time series analysis which includes sales per year and other features.
Feature.plot_components(forecast)
plt.show()
Finally, we must view our results in Comet, which requires us to terminate our experiment.
exp.end()
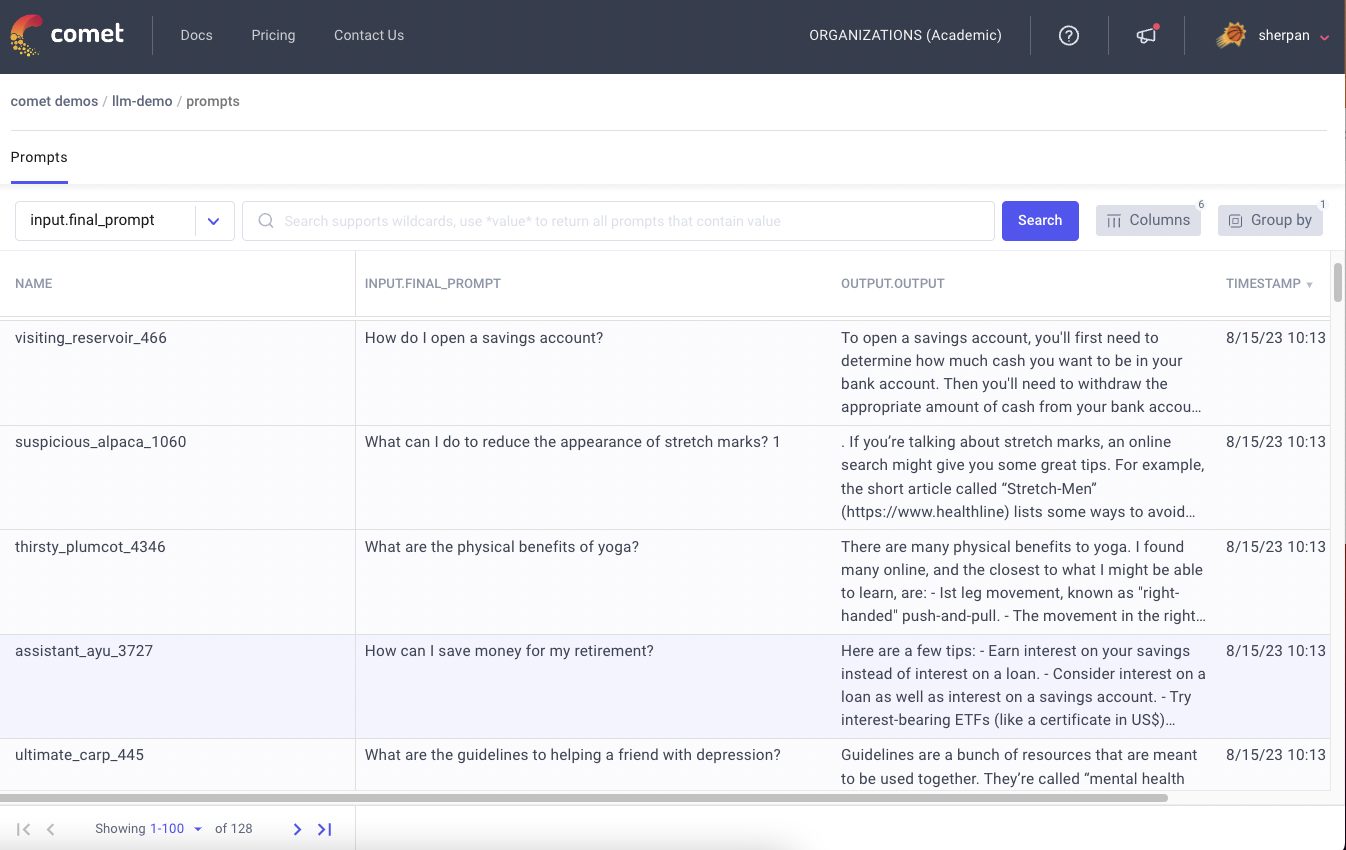
Showing results in Comet
To check your result, follow the link displayed in your notebook when you started the experiment, or login to your Comet account and head over to your workspace.

The tuned parameters are listed in the hyperparameters section:

The logged model can be found in the Assets & Artifacts menu.

Under the Graphics menu, you can see the produced matplotlib figures. This shows all the charts for every plot made in our notebook.

Conclusion
We just tracked our monthly car price prediction model in Comet.
In this tutorial, we’ve demonstrated how to forecast time series data in Comet using Prophet. We’ve discussed how to set up your data, make predictions, and monitor the outcomes in Comet.
To work with the dataset, you can get it here. You can also download the full code used in this tutorial here.
Related Articles