The Admin dashboard
The Admin dashboard allows customers to manage their Comet environment, from managing users and workspaces to setting organization-wide settings.
Access the Admin Dashboard
To access the Admin dashboard, you must have administrative privileges.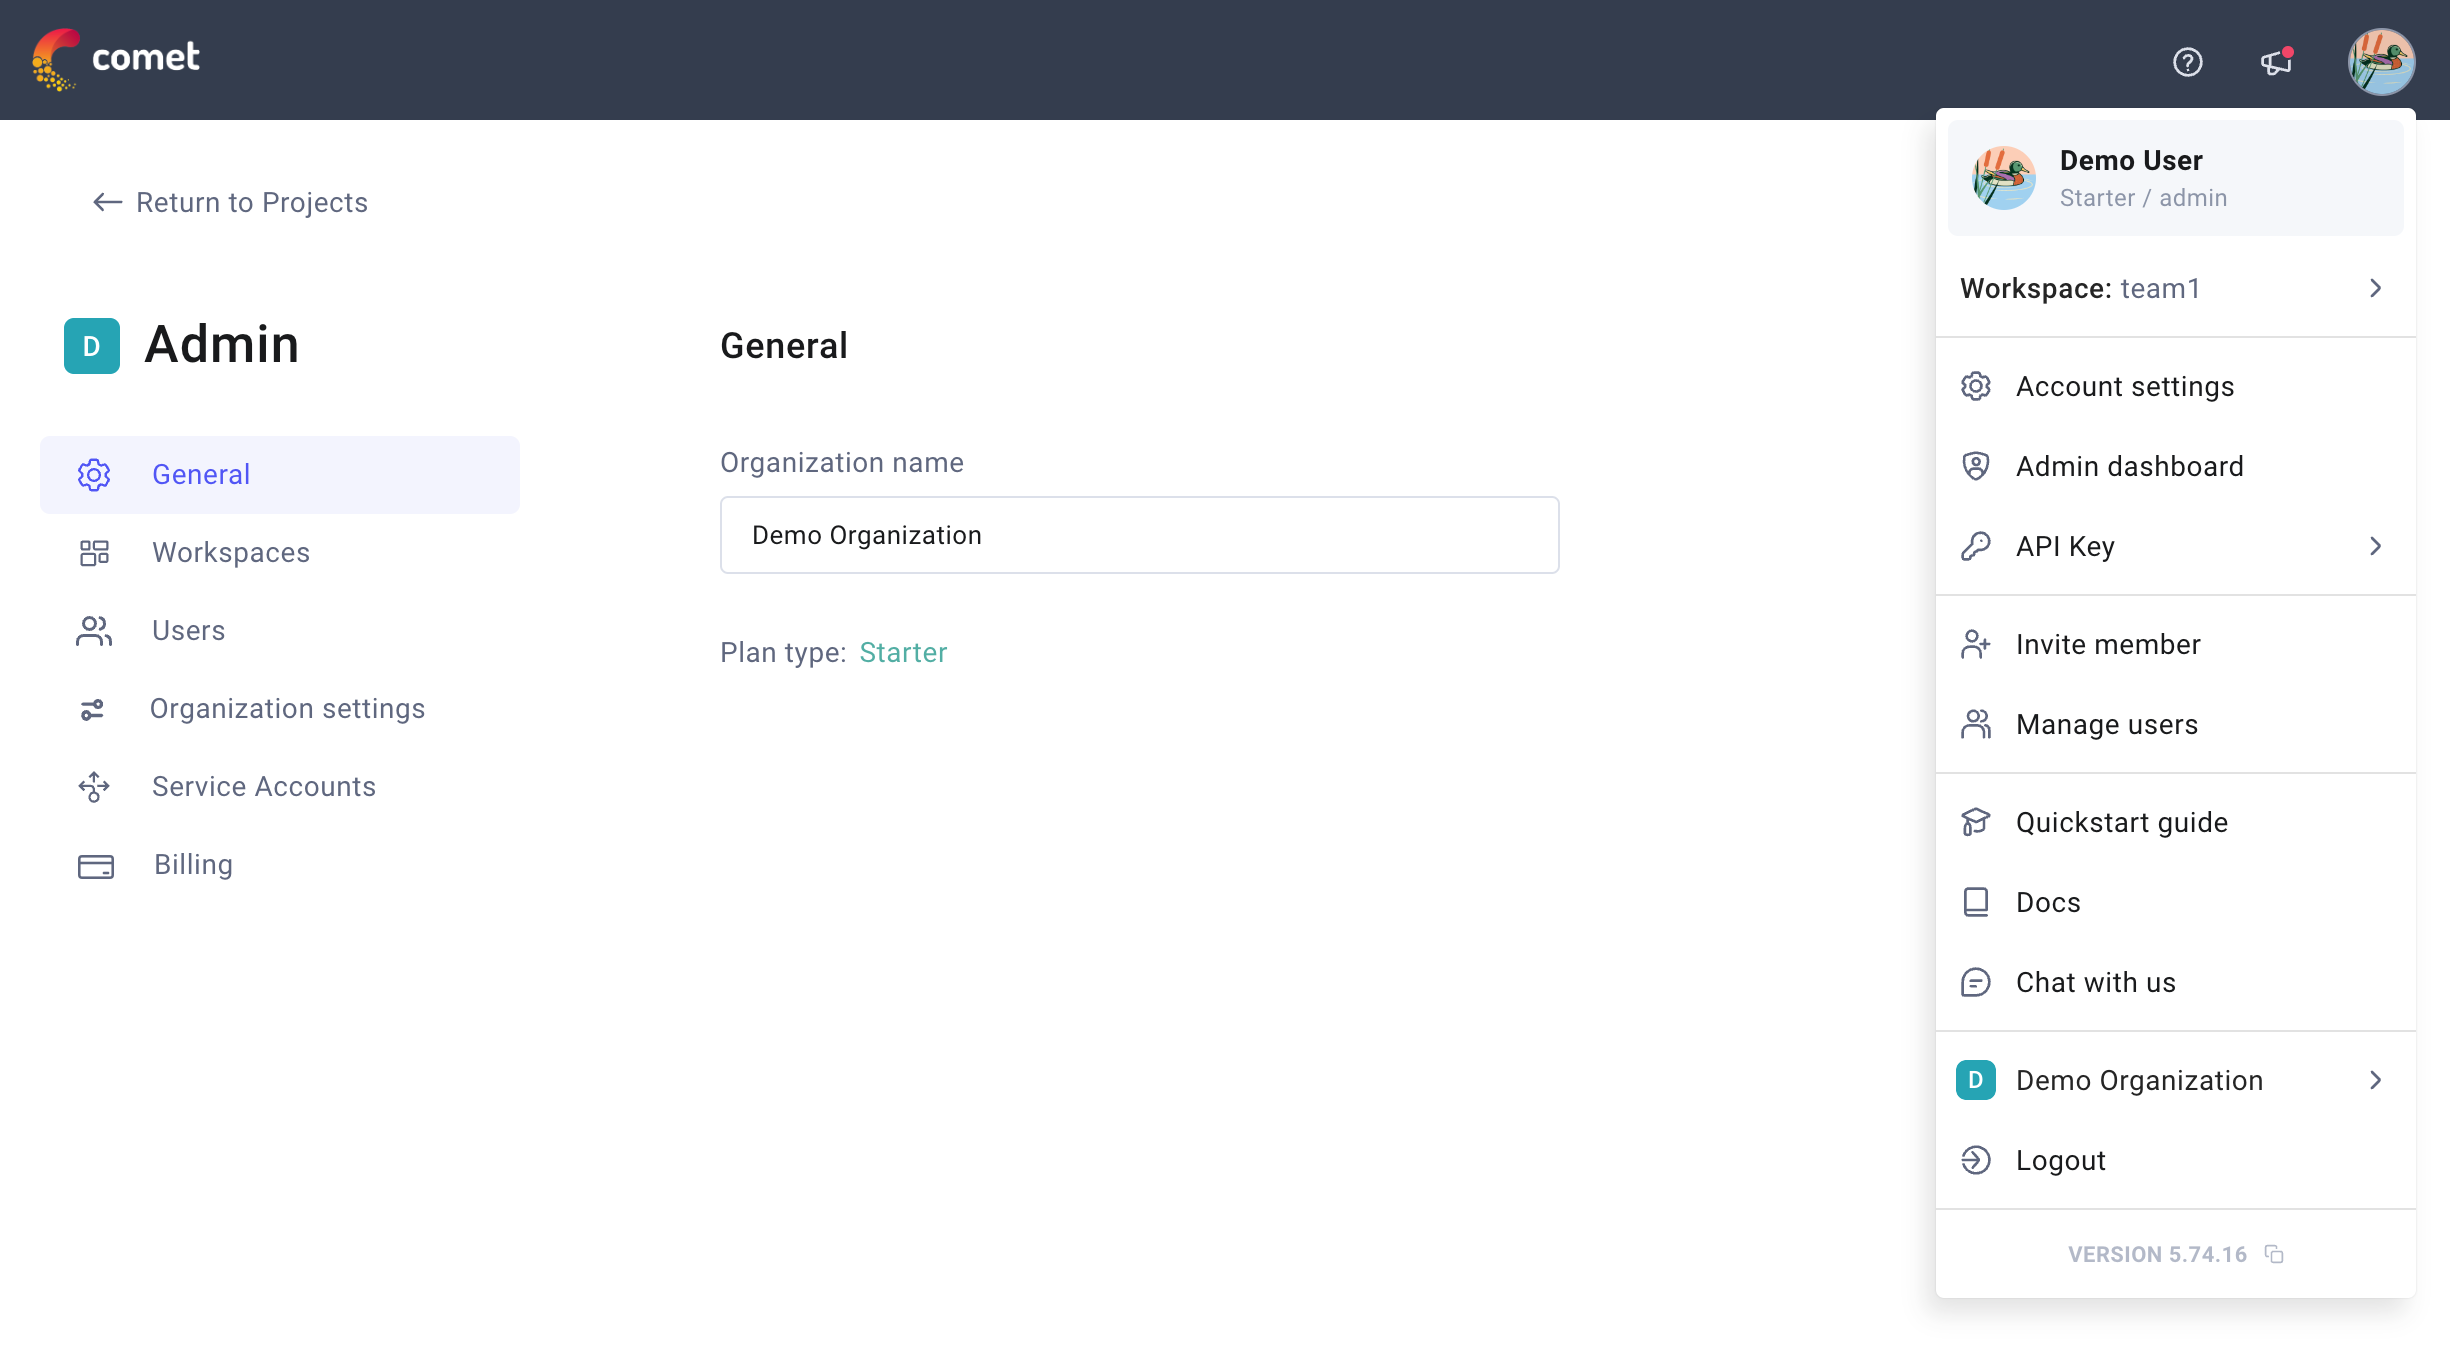
Given your desired workspace, you can access the Admin Dashboard as follows:
- Click your avatar in the top-right corner of the Comet page.
- Select Admin dashboard.
Navigate the Admin Dashboard tabs
The Admin dashboard lets you view and manage General information about the organization and other details about Workspaces, Users, Organization settings, Service Accounts, and Billing.
Below we explore each tab with available admin functionalities in more detail.
General tab
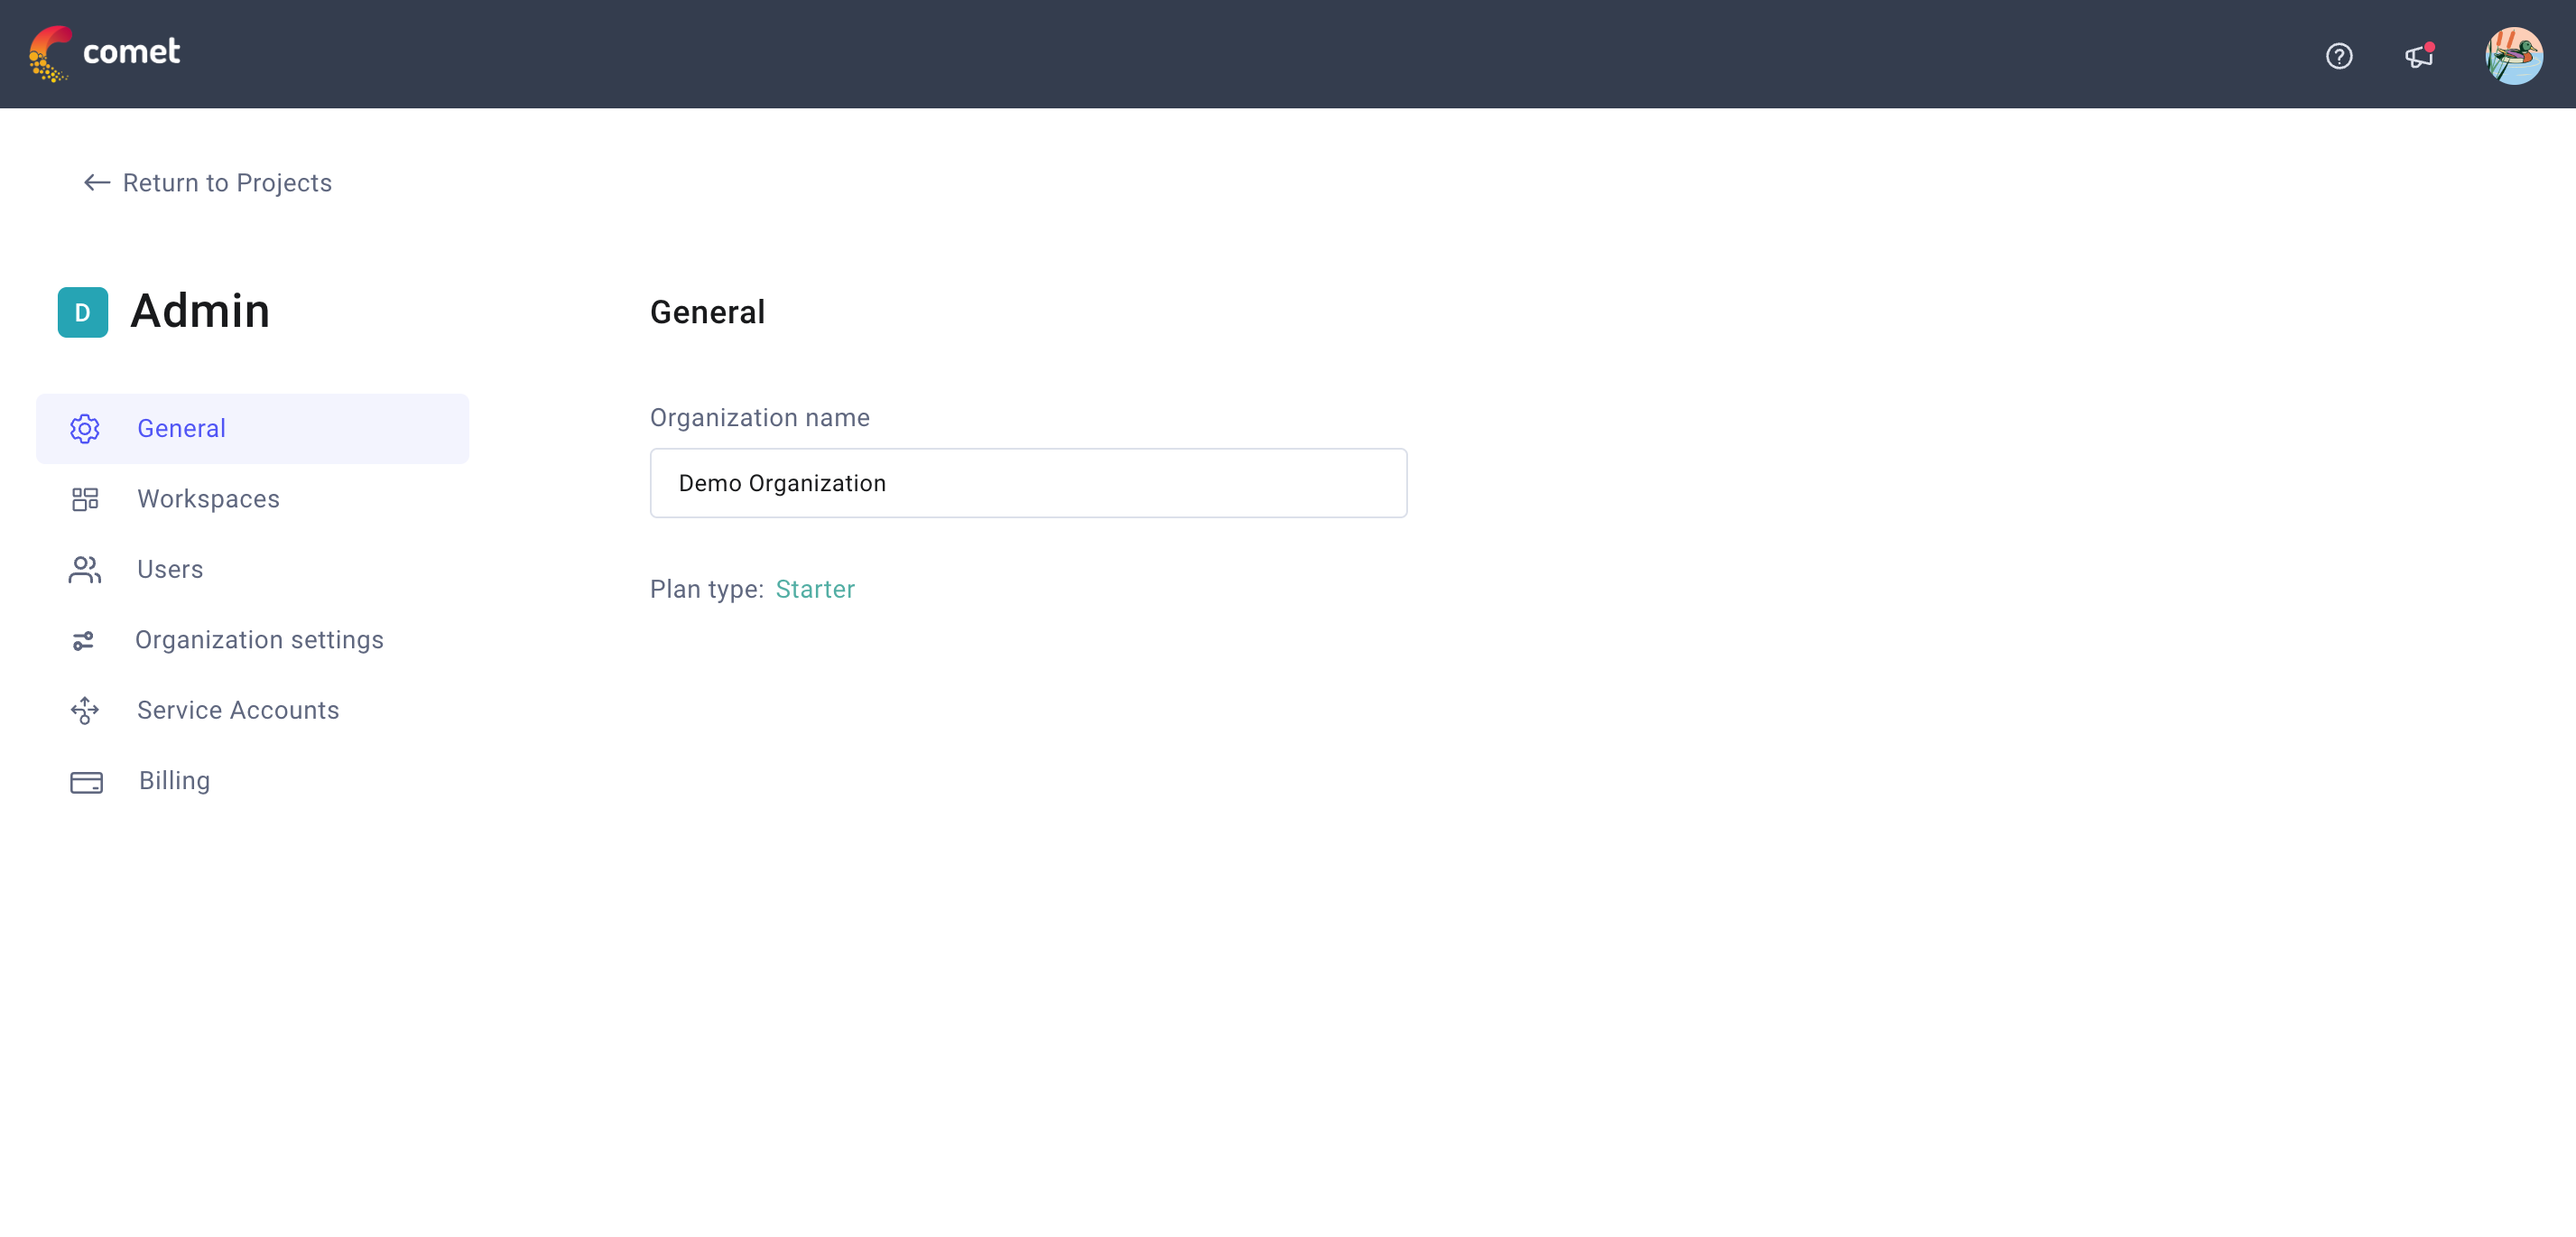
The General tab displays general information about the current organization. Currently, this includes:
- Organization Name
- Plan type
Note that you can edit the organization name by clicking on it.
Workspaces tab
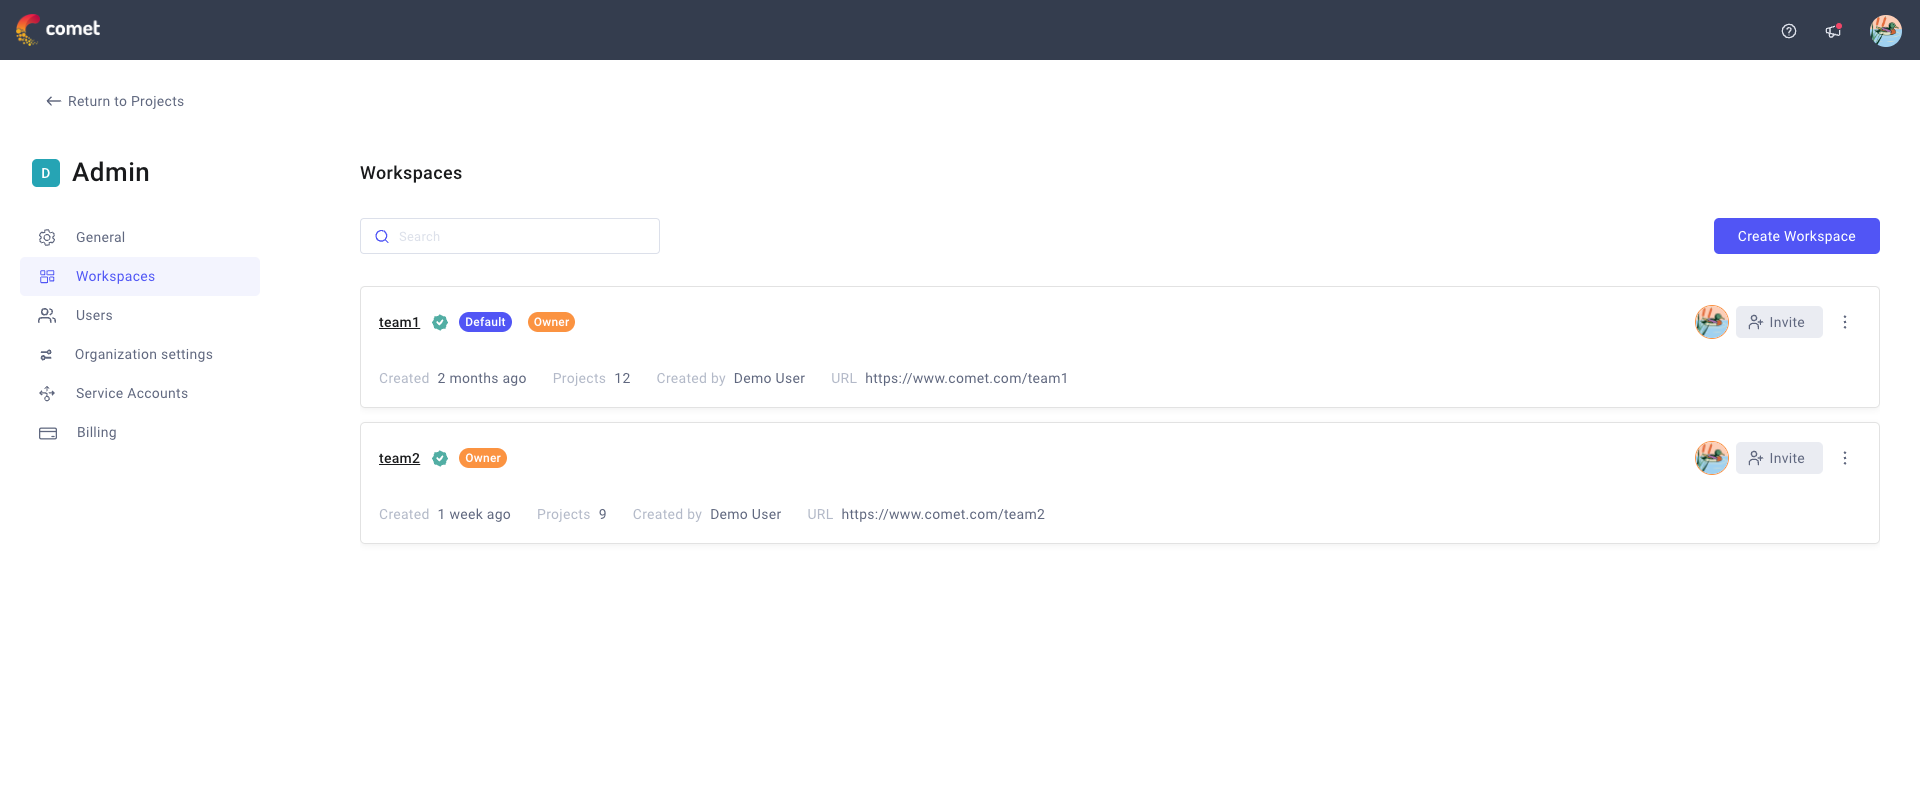
The Workspaces tab displays all the workspaces in the organization. The workspaces of which you (as administrator) are a member are marked with a green badge.
You can:
- Search across all workspaces by name
- Clink on Create Workspace to specify a new workspace name and create it.
- Click on the three vertical dots icon by a workspace to:
- Mark the workspace as Default.
- Delete the workspace.
Manage users for the workspace.
Note that this opens a temporary pop-up window rather than redirect you to the Users tab.
Workspace roles and permissions
Roles and permissions can be managed on two levels – Organization and Workspace. This table describes the permissions for different Workspace roles in combination with Organization roles.
| Workspace Role | Permissions |
|---|---|
| Workspace member | Opik member: - Access to Opik projects within the workspace - No access to EM part of the platform - Configurable per user per workspace: invite existing organization users to workspace Platform member & View-only platform member: - Access to LLM & EM projects within the workspace, view and manage all experiments inside of them - View, and propose status changes to models in Model registry - View and manage Artifacts - View and manage Model production monitoring - Configurable per user per workspace: make project public - Configurable per user per workspace: invite existing organization users to workspace - Configurable per user per workspace: manage model lifecycle in Model registry: approve status changes, and manage webhooks Admin: - Full access to all workspaces, does not need a workspace role |
| Workspace owner | Everything above, plus: - Manage model lifecycle in Model registry: approve status changes, and manage webhooks - Make projects public - Manage users within the workspace - Invite new users to organization |
Users tab
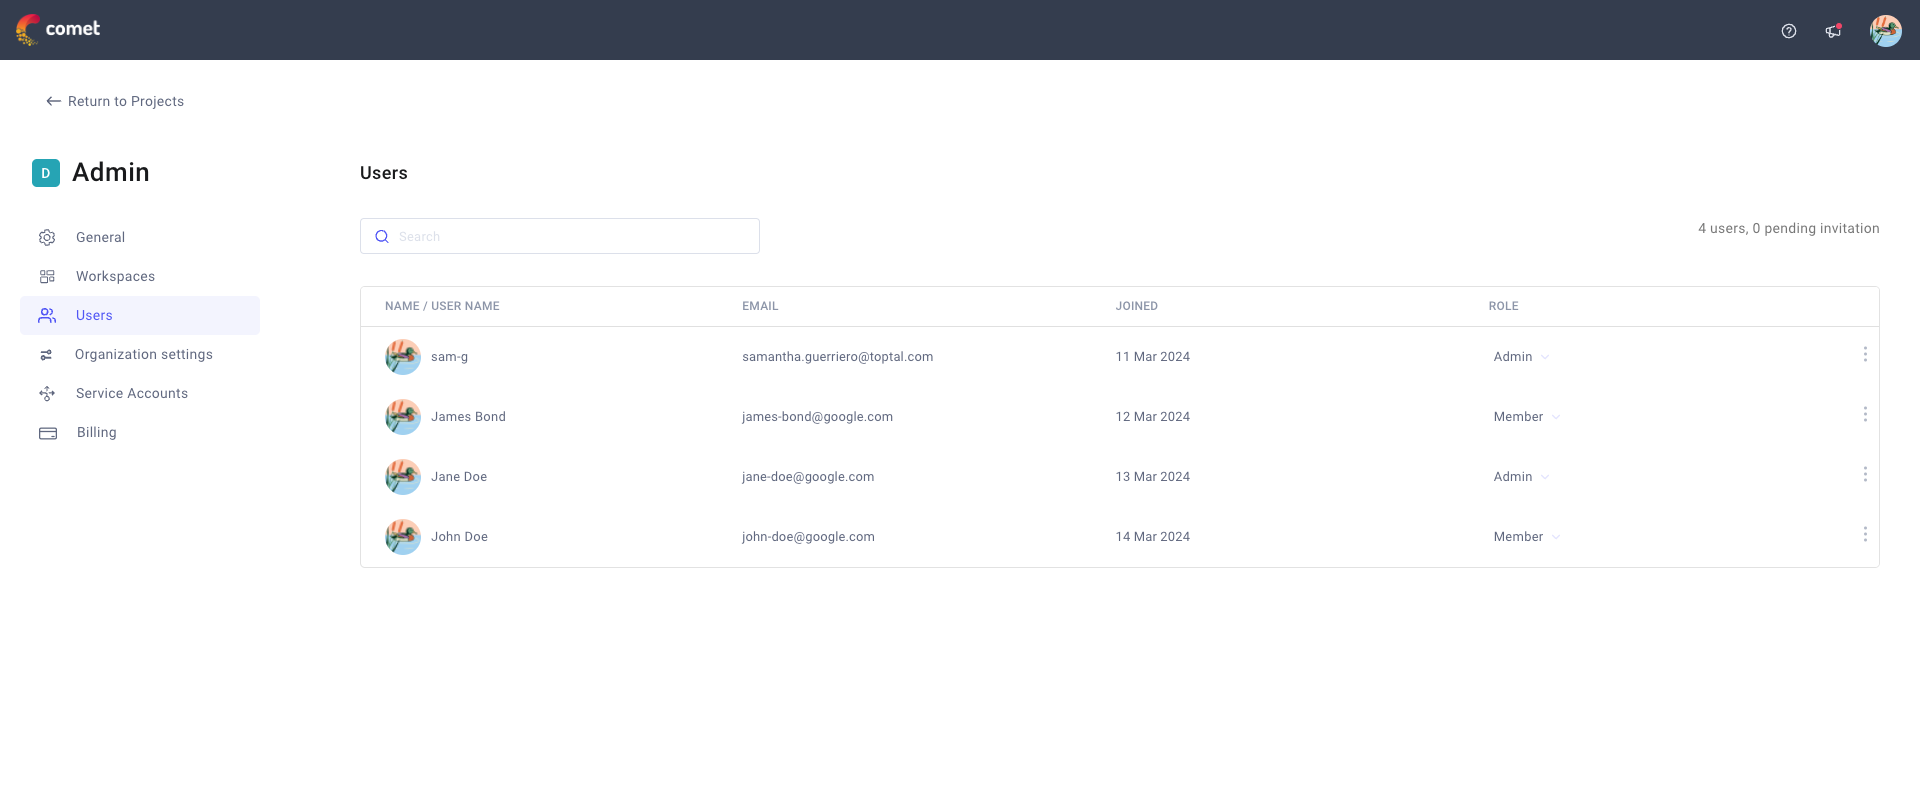
The Users tab displays all the users in the organization, as well as their roles and permissions.
Organization roles and permissions
There are 3 primary user roles, and 1 configurable one (View-only platform member).
| Organization role | Permissions |
|---|---|
| Opik member | - Access to Opik projects within workspaces they get invited to - Log data to Opik projects - Create new workspaces, and Opik projects - Configurable per organization: add new users to organization |
| Platform member | Everything above, plus: - Access to Experiment Management and Opik projects within workspaces they get invited to, according to their workspace role - Log data to projects in workspaces they get invited to |
| Admin | Everything above, plus: - Access the Admin dashboard and change organization settings - Manage plans and billing - Manage users: add new users to organization, change roles of users, remove users - Manage service accounts - Admin access to all workspaces within the organization |
| View-only platform member | Same as Platform member, but cannot log any data using SDK or API. |
Deleting users
Deleting a user will not delete any of that user's data, such as experiments, models, or artifacts. Workspaces or projects owned by that user will also remain intact – an admin can reassign ownership of those workspaces or projects to another user.
If you need to restore access for a deleted user, you can invite them again using their email address.
Organization settings tab
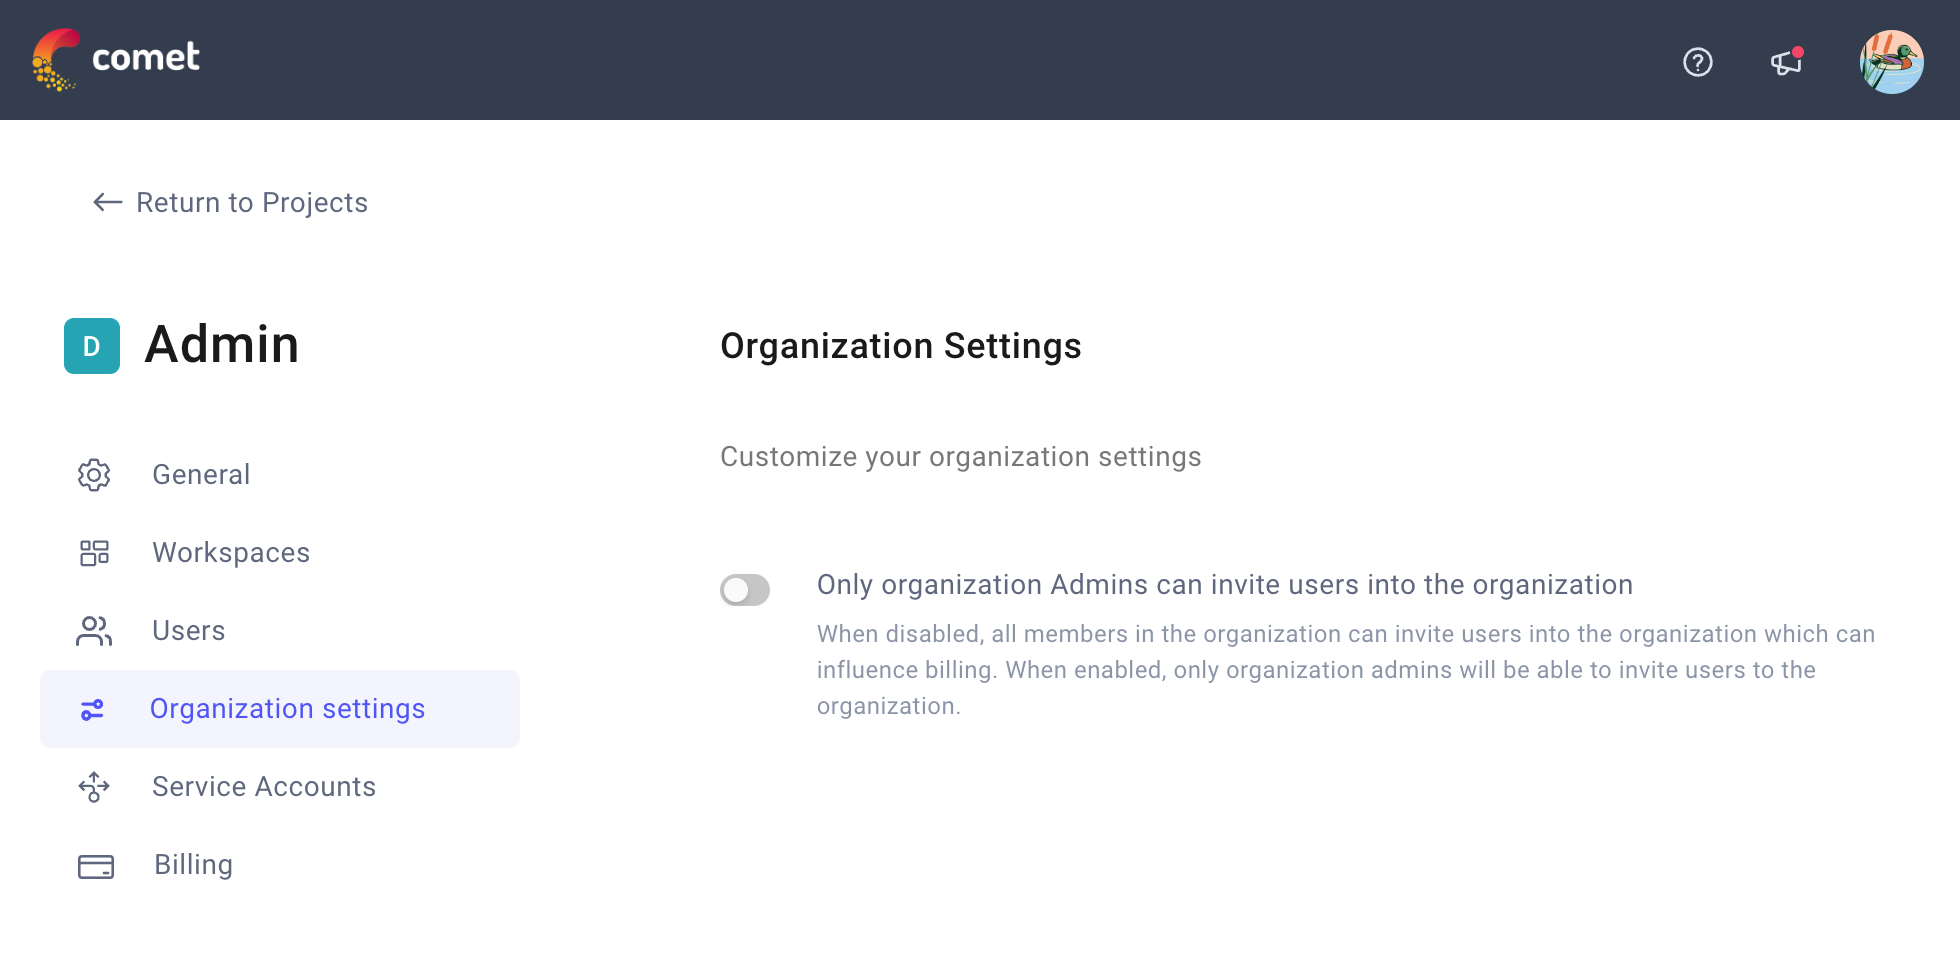
The Organization settings tab allows you to customize your organization settings. Currently this includes one only option:
- Decide whether only organizations Admins can invite users into the organization (default is False).
Service Accounts tab
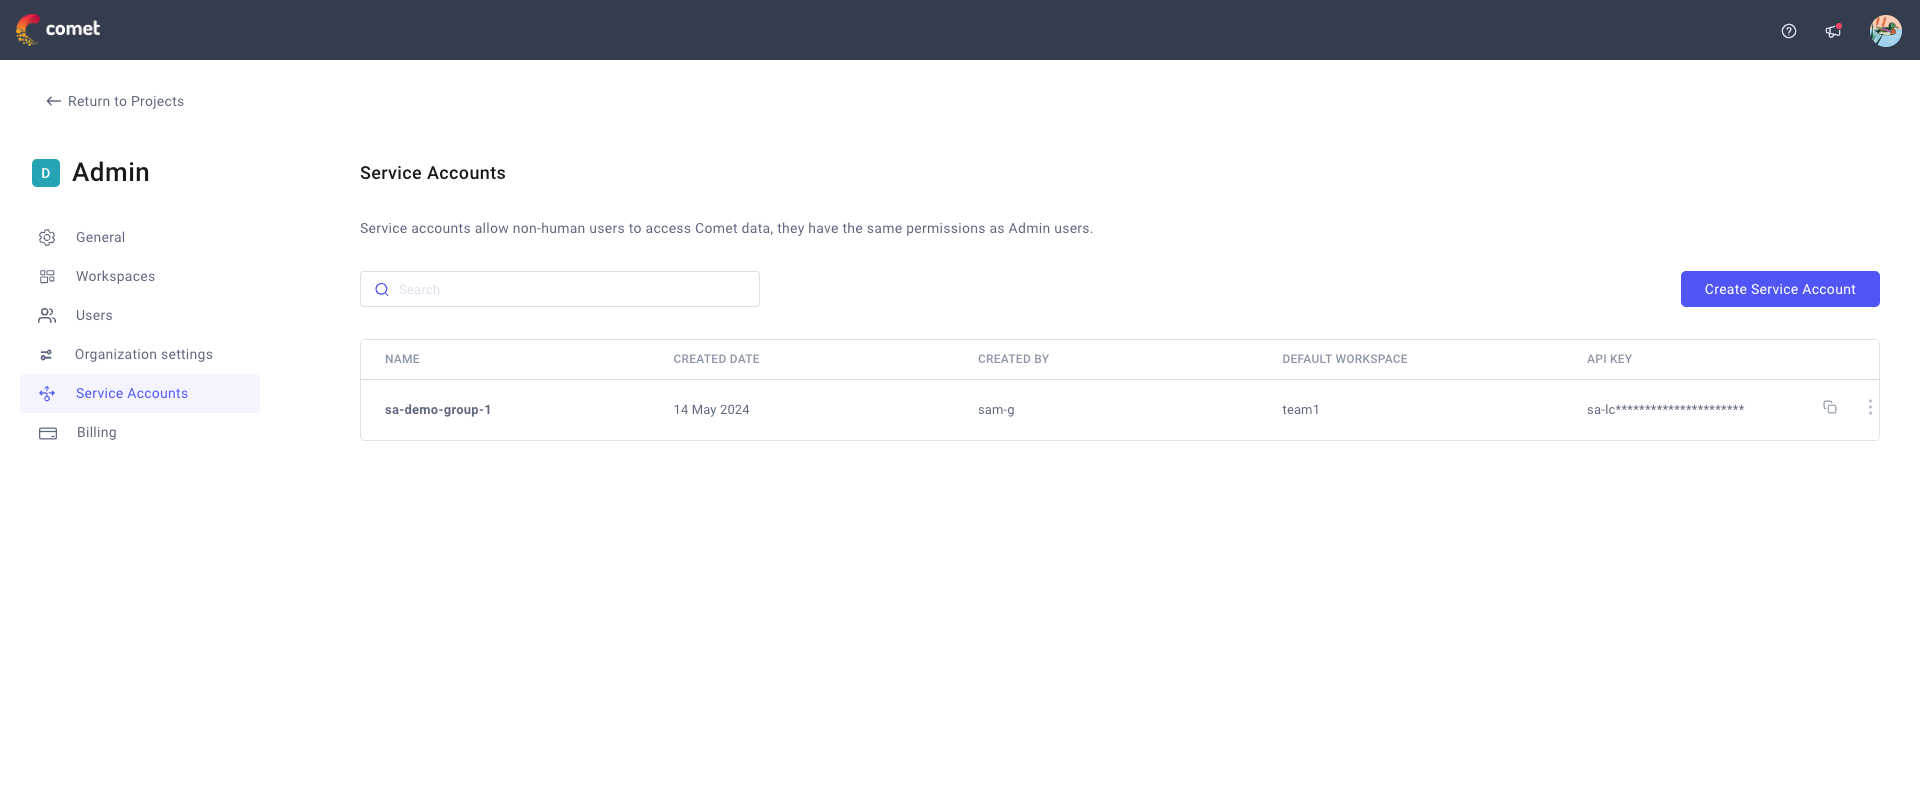
The Service Accounts tab allows you to manage service accounts. See this documentation page for more details.
Billing tab
The Billing tab looks different depending on the plan that your organization is on.
For Community organizations
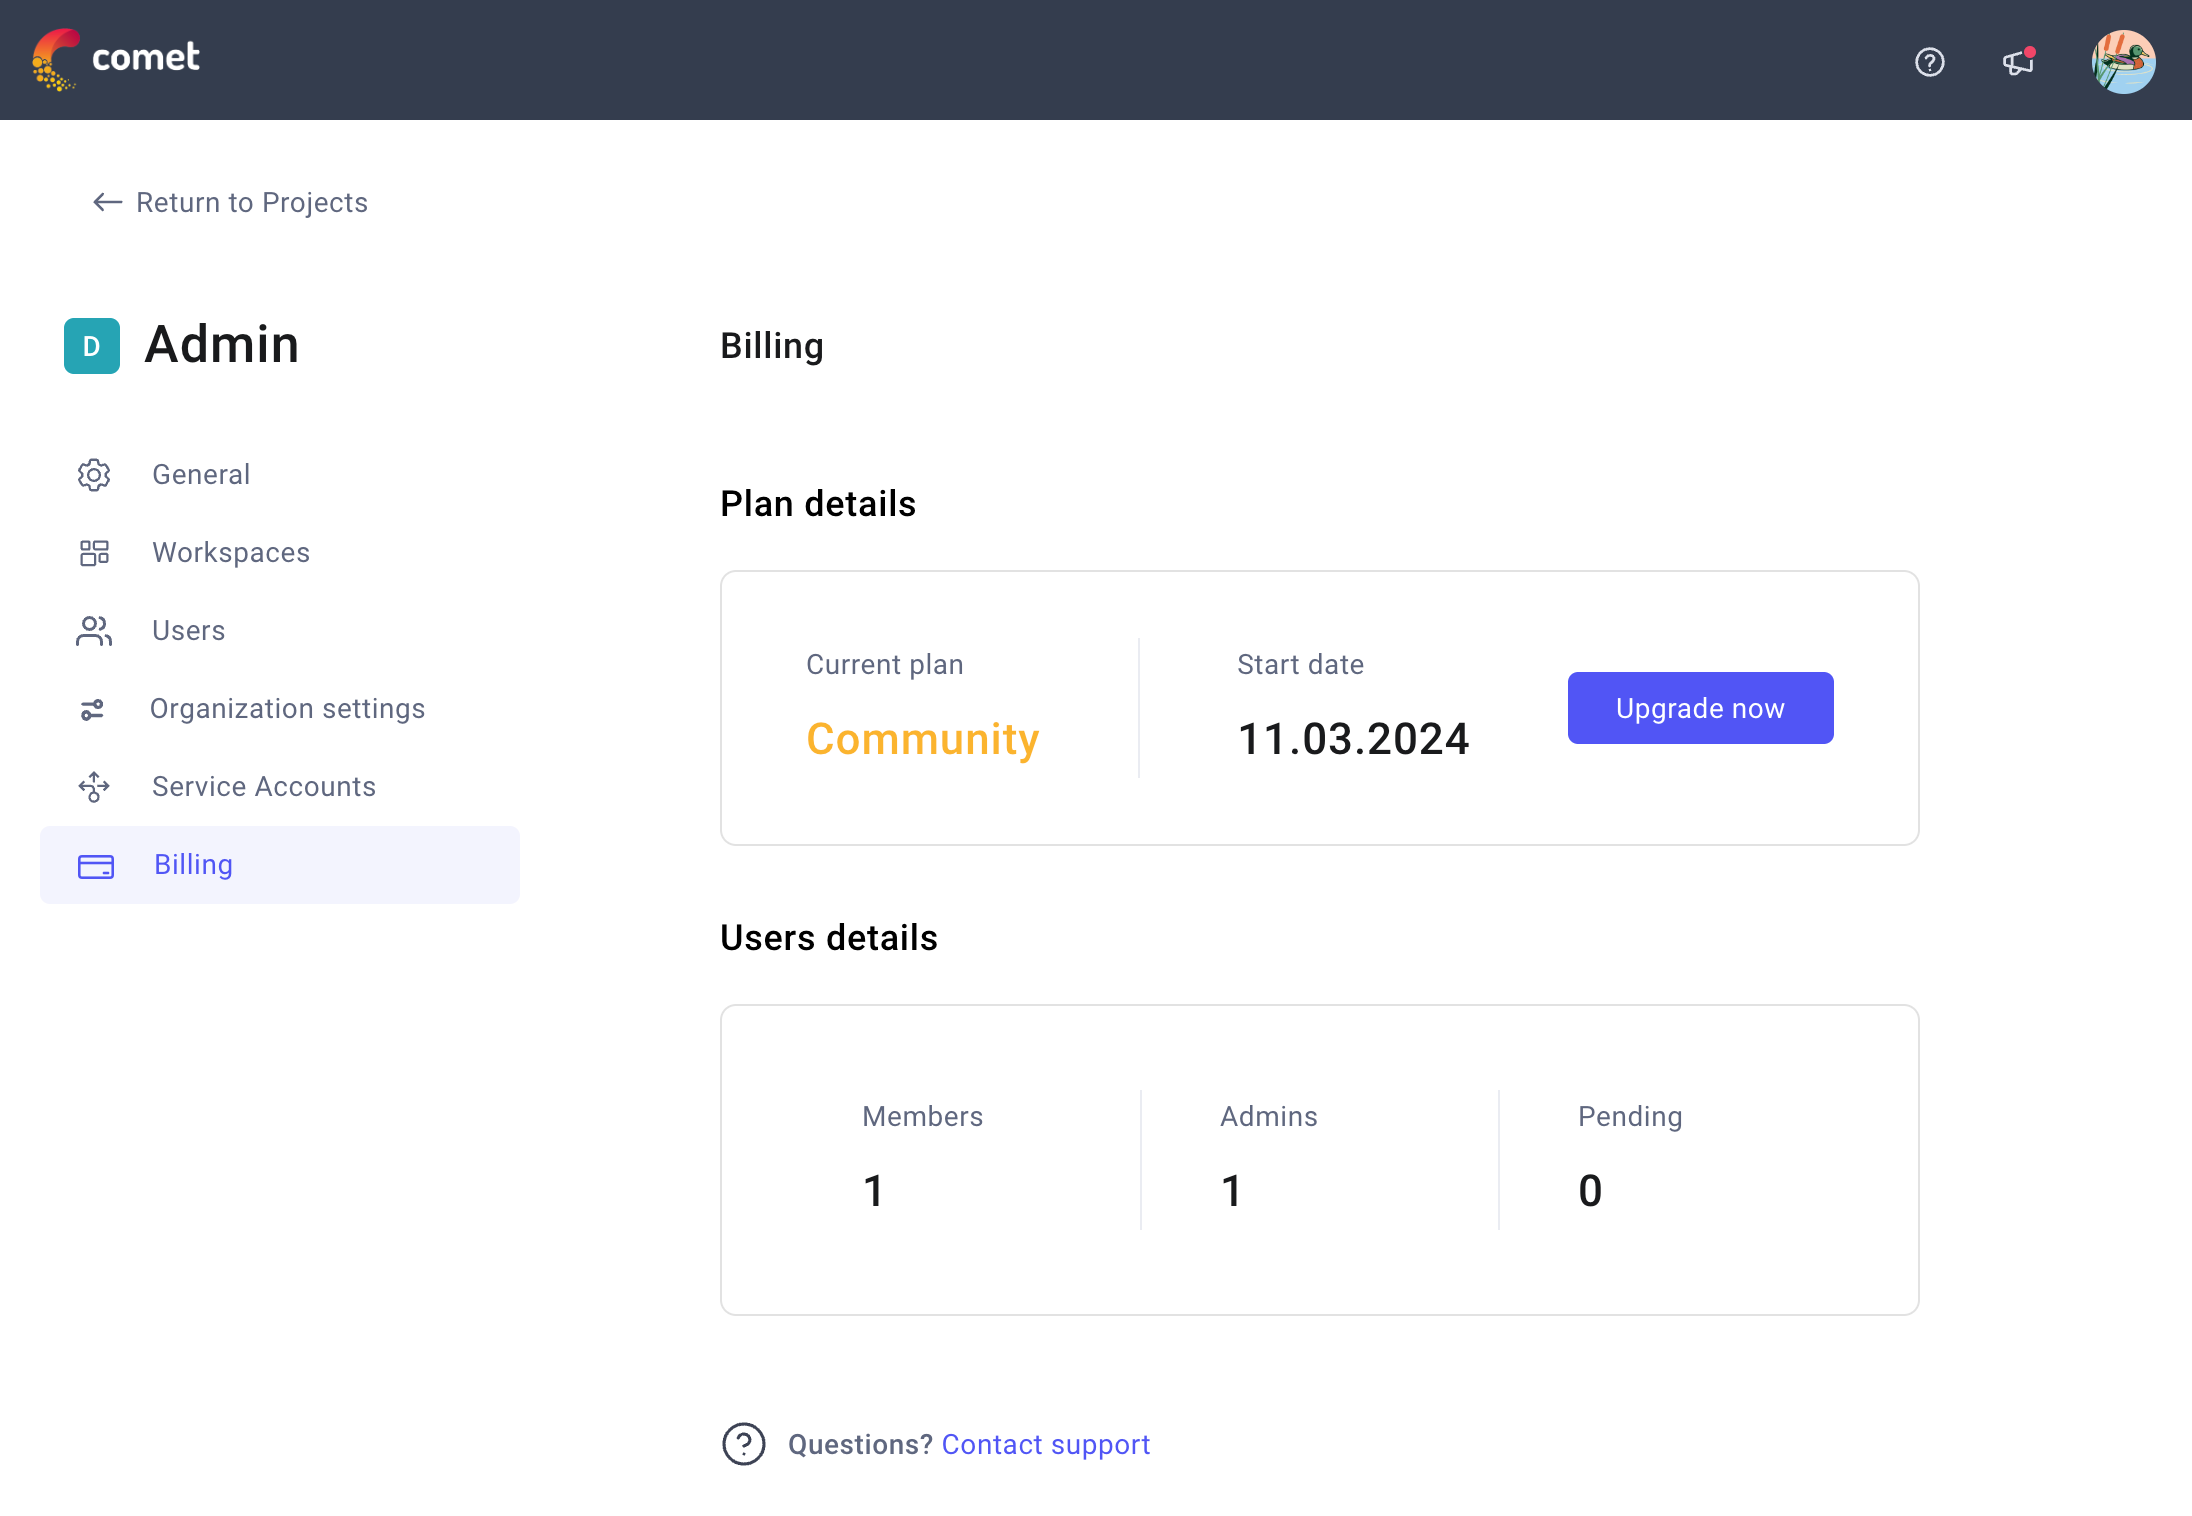
If you are on the Community plan, the Billing tab only shows you an overview with:
- Plan details, including current plan, start date, and an Upgrade button that allows you to easily change plan.
- User details, including members, admins, and pending user requests.
For Starter and Enterprise organization
Note that the only difference for the Billing tab between the two organization types is that the Upgrade now button does not show for Enterprise organization.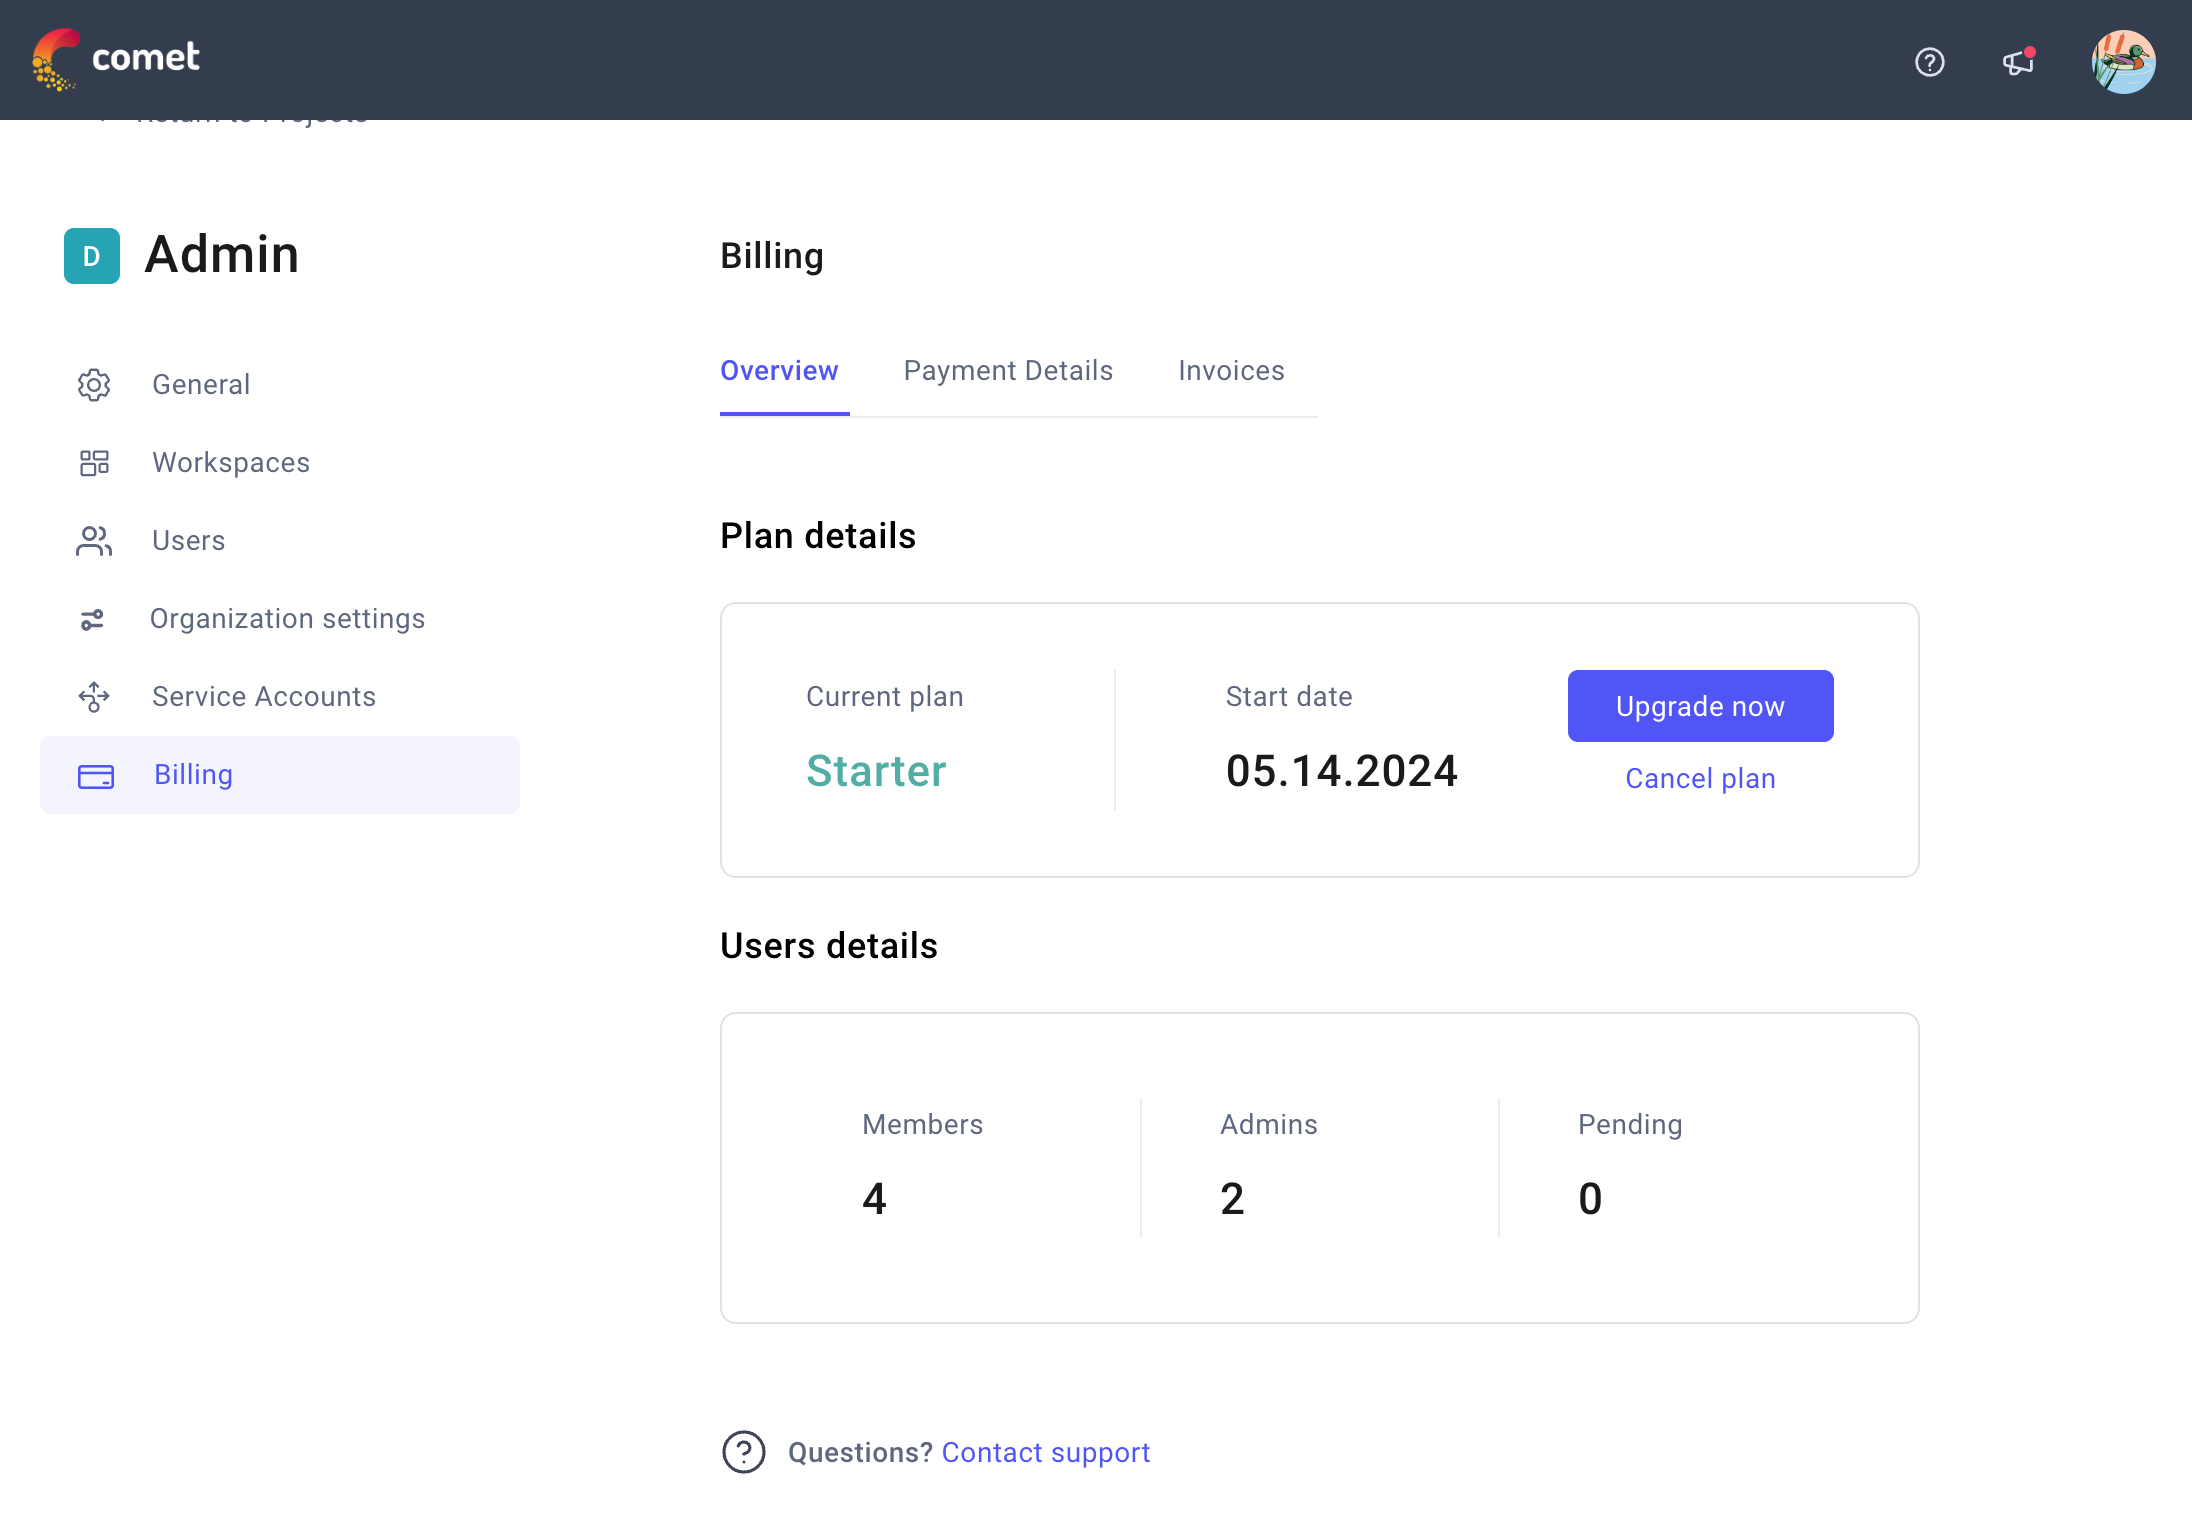
If you are on the Starter or the Enterprise plan, the Billing tab displays three tabbed pages to allow you to better manage your billing:
The Overview page is composed of two sections:
- Plan details, including current plan, start date, and Upgrade button or Cancel plan button that allow you to easily change plan.
- User details, including members, admins, and pending user requests.
The Payment Details page is composed of two sections:
- Upcoming bills lets you review the time and value of the next bill.
- Payment method provides you with an overview of your default method and the ability to change it.
The Invoices page summarizes and links you to all invoices.