Comet gcp
Overview
Deprecation Notice
Single-server deployments via GCP Marketplace are deprecated and no longer supported for new customers. For new deployments, we recommend:
- AWS SageMaker: Fully managed Comet deployment with infrastructure, security, and support handled by AWS.
- Kubernetes (GKE): Production-ready Kubernetes deployment using Helm charts.
- Opik Open Source: Free, open-source LLM evaluation platform for local development and testing.
The Comet MLOps Platform on GCP Marketplace provides a pre-configured image for evaluation purposes.
The image on GCP Marketplace includes the following configuration:
- Comet already running - no installation required
- Ubuntu 24.04 LTS base image
- 1TB storage disk, with enough space for a kubernetes all-in-one deployment
1. GCP Setup 
Get Started
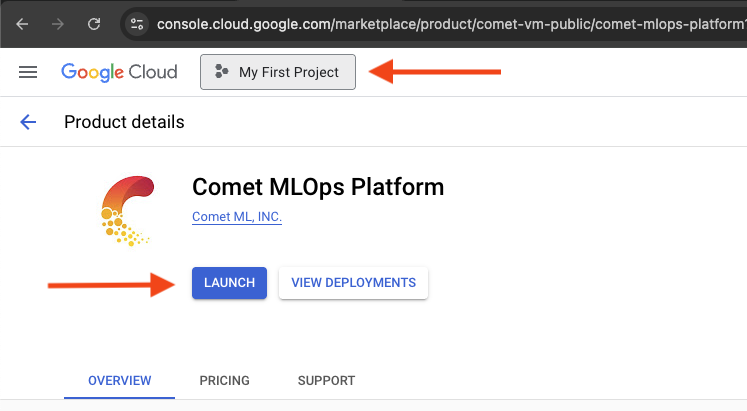
At the top of the Marketplace Product details page, select the existing project where you wish to deploy Comet or start a new project. Once the project has been selected click on the "Get Started" or "Launch" button and then proceed to agree to the terms and agreements.
Google account setup
There may be some extra setup if this is your first time using Google Cloud Marketplace.
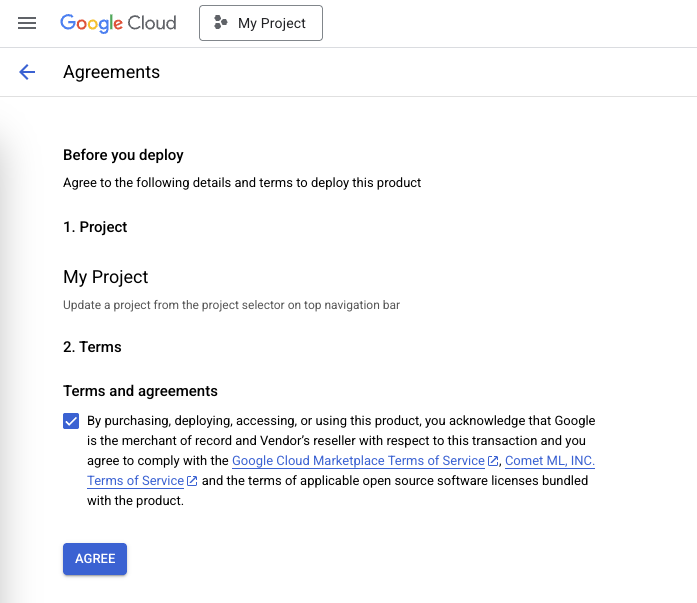
Agree to terms
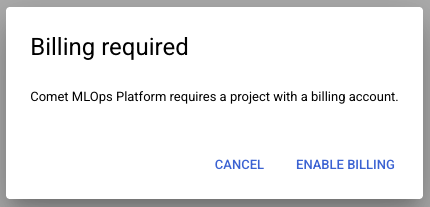
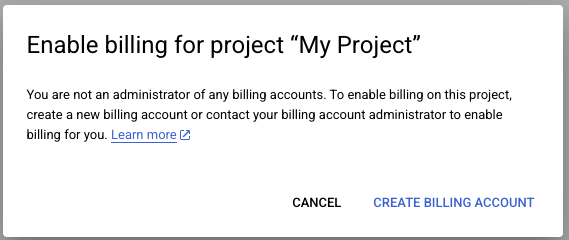
Enable billing
Terms success
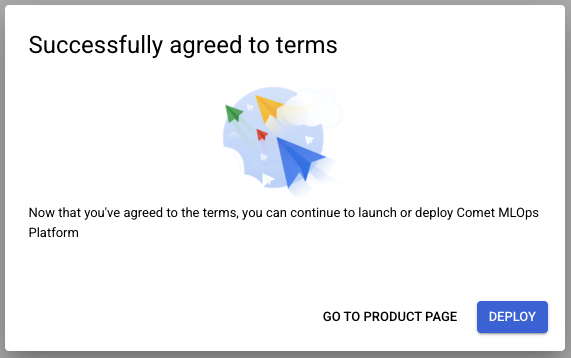 Click on "Deploy".
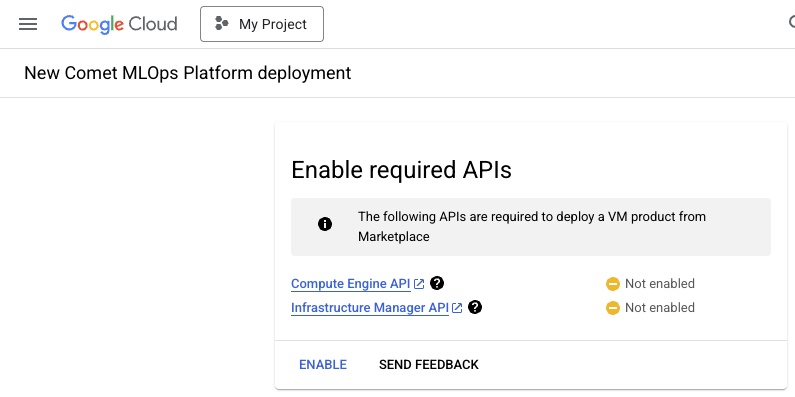
Enable required APIs
In order to deploy a VM product from Marketplace, the following APIs are required: - Compute Engine API - Infrastructure Manager API
Click on "Enable" and wait for it to finish.
Deploy
On the next page, fill out the Terraform deployment configuration (see screenshot).
- Enter a name for your Comet deployment
- Select an existing service account (or create a new one)
- When creating a new service account, you may get an error if service account description isn't filled in.
- Choose a zone
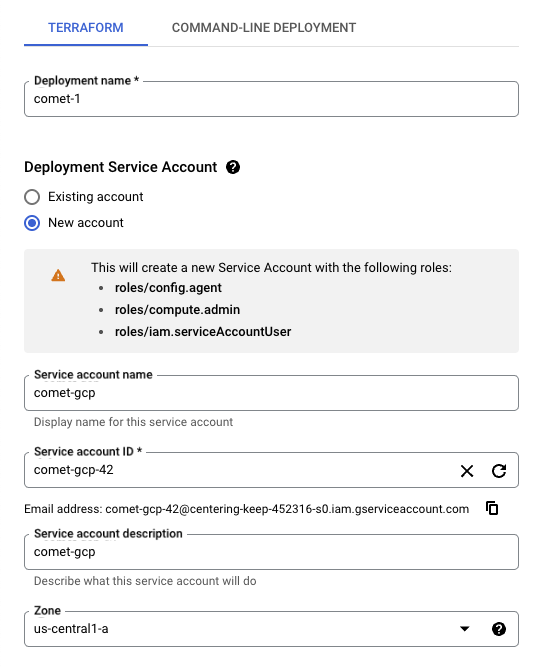
At the bottom, click on Deploy.
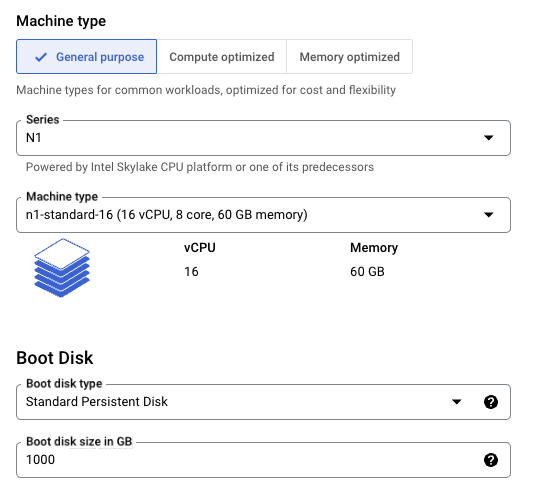
Machine type
We recommend an n1-standard-16 machine. - 16 vCPU, 8 core - 60 GB Memory
Boot Disk
- Standard persistent disk
- 1000 GB
Networking
Adjust these values to your desired specifications.
In the modal click on "Deploy".
Wait for the Solution deployment to finish
The Details tab will list the Basic information and Outputs related to your deployment.
Basic information
- Deployment name
- Location
- Deployment date
- Deployed from
- Labels
Outputs
- Instance Machine Type
- Instance Nat Ip
- Instance Network
- Instance Self Link
- Instance Zone
2. Connect to the Virtual Machine
(Easy) SSH to the Virtual Machine
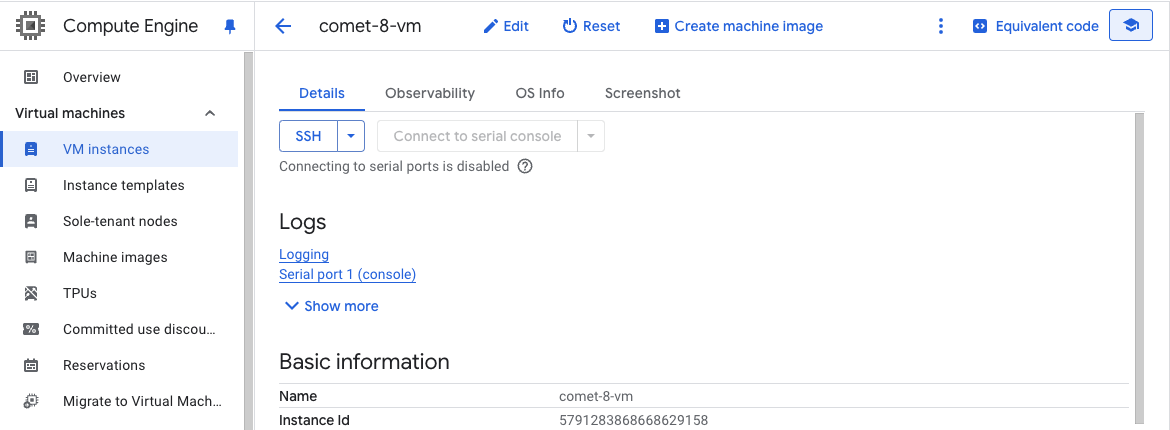
On the Resources tabs click on the Compute Engine Resource Name.

The next page should open to the "Details" panel of your machine. Click on "SSH" to open an in browser terminal and authorize the connection when prompted.
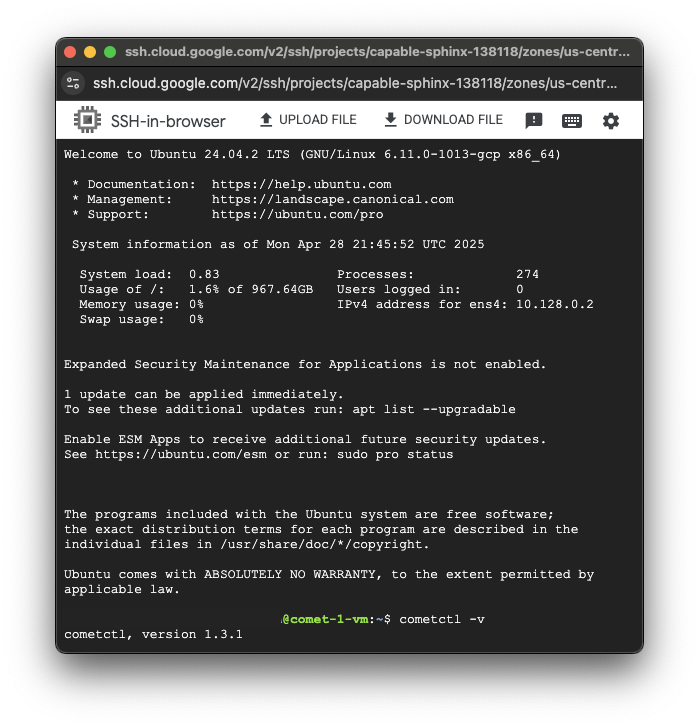
You should find yourself at the command line of your virtual machine where Comet is installed.
cometctl
Use Comet's command line utility cometctl to manage the installation. GCP Marketplace Solution deployments of Comet come with this tool installed and ready to use.
3. Initialize Comet
Comet comes pre-installed on this image but not pre-licensed.
sudo cometctl init --license-token <license-token>
Update the Comet configuration
At the very least you'll want to set the base domain.
sudo cometctl kaio update-config
comet.local. You will need to edit your local /etc/hosts file to make the deployment accessible from your machine. sudo vim /etc/hosts
<VM_Public_IP> comet.local
Find comet.licenseToken and set it with your license token.
Then save and exit. You may need to flush your DNS cache as well. The process for editing your hosts file and clearing DNS cache will vary with OS.
Note: If you choose to set a base domain, be sure to also set it for the following keys.
frontend.ingress.hosts.host
ppOrchestrator.env.PP_HOST_DOMAIN
ppOrchestrator.engineValues.env.ALLOWED_DOMAINS
Deployment status
If for any reason you need to verify that Comet components are running you can check the deployment status.
sudo cometctl kaio status
comet-1-vm:~$ sudo cometctl kaio status
NAME                                                              READY   STATUS        RESTARTS        AGE
chi-opik-clickhouse-cluster-0-0-0                                 1/1     Running       1 (56m ago)     60m
comet-ml-altinity-clickhouse-operator-6dd8cdc456-bh46h            1/1     Running       1 (56m ago)     62m
comet-ml-backend-optimizer-5fdc56474-w5lng                        1/1     Running       0               54s
comet-ml-backend-postprocess-7977d879ff-wj4xw                     1/1     Terminating   1 (56m ago)     57m
comet-ml-backend-postprocess-84b678658f-bs2q4                     1/1     Running       0               55s
comet-ml-backend-python-5d75c9bbc5-ck2cp                          1/1     Terminating   1 (56m ago)     57m
comet-ml-backend-python-6f7ddcc7fd-m9mlx                          1/1     Running       0               55s
comet-ml-backend-react-6c455d79d6-btngb                           1/1     Running       0               55s
comet-ml-backend-react-846bfcd7df-wghsj                           1/1     Terminating   1 (56m ago)     57m
comet-ml-frontend-nginx-5888cfb87f-426k7                          1/1     Running       0               55s
comet-ml-minio-788b7c5dcc-hwqkj                                   1/1     Running       1 (56m ago)     62m
comet-ml-minio-provisioning-w5jb9                                 0/1     Completed     0               63s
comet-ml-mysql-0                                                  1/1     Running       1 (56m ago)     62m
comet-ml-mysql-db-migration-ss8t2                                 0/1     Completed     0               74s
comet-ml-python-panels-orchestrator-5896dbb585-h7plp              1/1     Running       1 (56m ago)     62m
comet-ml-python-panels-orchestrator-uninstall-job-290979509rhsd   0/1     Completed     0               2m35s
comet-ml-redis-master-0                                           1/1     Running       1 (56m ago)     62m
opik-backend-759b89d6dc-7w7zj                                     1/1     Running       1 (56m ago)     62m
opik-frontend-84748f9947-229m7                                    1/1     Running       2 (5m53s ago)   62m
opik-zookeeper-0                                                  1/1     Running       1 (56m ago)     62m
comet-1-vm:~$
4. Access the deployment UI
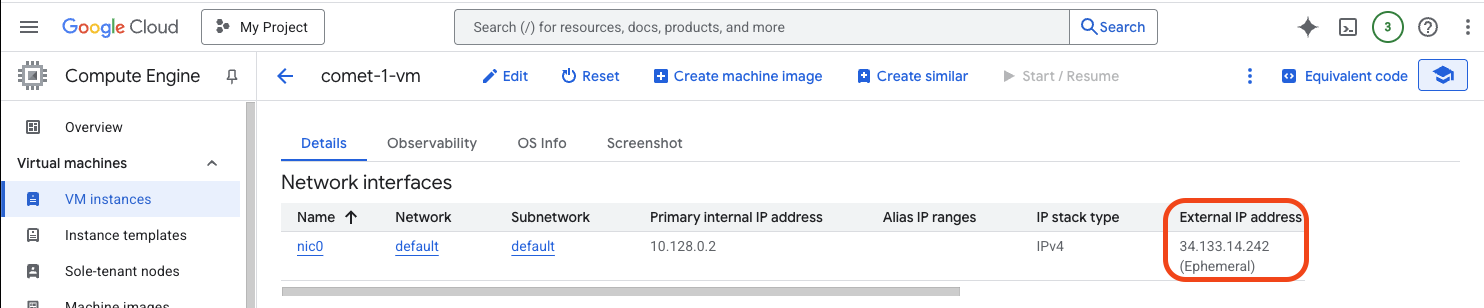
To access the Comet UI, either navigate to your configured Comet base domain or (if you haevn't already) modify your local machine /etc/hosts file to include this line:
<VM_PUBLIC_IP> comet.local
5. Smoke test
If you'd like you can smoke test the deployment using a tool called cometx. Smoke Testing
Note: You will need to pip install a few packages. Instructions are at the above link.
If you're running smoke tests for Opik, you will also need to edit the /etc/hosts file on the VM. Instead of using the VMs ephemeral IP, use the cluster IP of the nginx service. You can look this up using kubectl, available on the comet-ml user.
su comet-ml
kubectl -n comet get svc -o wide | grep nginx
Additional options
sudo cometctl kaio -h
Re-install Comet
Use this command if Comet needs to be reinstalled. It's rare you would need to run this command for GCP Marketplace installs.
sudo cometctl kaio install
Updating Comet
You can update Comet components using cometctl.
sudo cometctl kaio upgrade
Running kubectl
This image runs minikube under the hood. For debugging purposes if you're familiar with kubernetes you can run kubectl directly by switching to the comet-ml user.
su comet-ml